Options Trading Education
Build your options knowledge, one concept at a time
Practical, plain-English guides that explain how options work, how strategies are structured and how traders think about risk.
Course-Based Learning Hubs
Explore options strategies step by step
299 guides

What Is a Call Option and How Does It Work?
Learn the rights, risks, potential rewards and essential mechanics of buying a call option.
Read the guide →How to Buy a Call Option: A Step-by-Step Guide
Turn a bullish idea into a defined trade by choosing the expiration, strike and order correctly.
Read the guide →Long Call Profit, Loss and Breakeven Explained
Calculate maximum loss, expiration breakeven and profit with a complete numerical example.
Read the guide →How to Choose a Call Option Strike Price
Compare moneyness, delta, premium, breakeven and liquidity.
Read the guide →How to Choose a Call Option Expiration Date
Balance time horizon, premium, theta decay and event risk.
Read the guide →Buying Call Options: 10 Risks and Mistakes to Avoid
Recognize the errors that can destroy a long call trade.
Read the guide →ITM vs ATM vs OTM Call Options Explained
Understand how moneyness changes intrinsic value, premium and risk.
Read the guide →Call Option Intrinsic Value vs Time Value
See exactly how the two components form an option premium.
Read the guide →Bid and Ask Price in Options Explained
Understand spreads, midpoint, liquidity and limit orders.
Read the guide →What Happens to a Call Option When the Stock Goes Down?
See how price, time and volatility affect a losing call.
Read the guide →How to Calculate Average Option Premium Price
Calculate weighted cost, total debit and the new breakeven.
Read the guide →When to Sell a Call Option You Bought
Plan profit, loss, thesis and time-based exits before entry.
Read the guide →Sell a Call Option vs Exercise: What Is the Difference?
Compare time value, share ownership and buying-power needs.
Read the guide →Theta and Time Decay in Long Call Options
Understand daily decay and why it accelerates near expiration.
Read the guide →How Implied Volatility Affects a Long Call
Learn about vega, event premiums and volatility crush.
Read the guide →
What Is Selling a Call Option and How Does It Work?
Learn the obligation, premium, assignment and expiration outcomes.
Read the guide →
Covered Call vs Naked Call: Risk and Reward Compared
See why owning the shares completely changes the risk profile.
Read the guide →
How to Sell a Covered Call: Step-by-Step Guide
Move from share ownership to strike selection, execution and management.
Read the guide →
Short Call Profit, Loss and Breakeven Explained
Calculate premium, breakeven and risk with a numerical example.
Read the guide →
How to Choose a Covered Call Strike Price
Balance premium, assignment probability and remaining upside.
Read the guide →
How to Choose a Covered Call Expiration Date
Compare theta, premium, events and management frequency.
Read the guide →
Covered Call Assignment Explained
Understand when shares are called away and how returns are calculated.
Read the guide →
Covered Calls, Dividends and Early Assignment Risk
Learn why ex-dividend dates and remaining time value matter.
Read the guide →
How to Roll a Covered Call
Compare rolling up, out, and up-and-out with honest accounting.
Read the guide →
When to Close a Covered Call
Use remaining reward, assignment preference and events to decide.
Read the guide →
Covered Call Risks: 10 Mistakes to Avoid
Avoid chasing premium, ignoring stock downside and rolling blindly.
Read the guide →
How Much Income Can Covered Calls Generate?
Estimate realistic cash flow without treating premium as guaranteed profit.
Read the guide →
Covered Call vs Buy and Hold
Compare premium income, capped upside and full stock participation.
Read the guide →
Covered Call vs Cash-Secured Put
Compare two premium strategies with similar payoff economics.
Read the guide →
Selling Call Options: Margin and Buying Power
Understand collateral, changing requirements and liquidation risk.
Read the guide →
What Is Buying a Put Option and How Does It Work?
Learn the right to sell, premium risk, expiration outcomes and the bearish logic behind a long put.
Read the guide →
How to Buy a Put Option: Step-by-Step Guide
Build a long put trade from bearish thesis through expiration, strike, order entry and exit planning.
Read the guide →
Long Put Profit, Loss and Breakeven Explained
Calculate a long put's maximum loss, expiration breakeven and profit with a clear numerical framework.
Read the guide →
How to Choose a Put Option Strike Price
Compare put strikes using moneyness, delta, premium, breakeven and liquidity instead of price alone.
Read the guide →
How to Choose a Put Option Expiration Date
Match a long put expiration to the expected move while balancing premium, theta decay, liquidity and event risk.
Read the guide →
ITM vs ATM vs OTM Put Options Explained
Understand how in-the-money, at-the-money and out-of-the-money puts differ in value, delta and expiration risk.
Read the guide →
Put Option Intrinsic Value vs Time Value
Break a put premium into intrinsic value and time value and see how each component changes before expiration.
Read the guide →
What Happens to a Put Option When the Stock Goes Up?
See why a long put usually loses value when the stock rises and how time and volatility can change the result.
Read the guide →
When to Sell a Put Option You Bought
Use profit targets, loss limits, thesis changes and time-based rules to decide when to close a long put.
Read the guide →
Sell a Put Option vs Exercise: What Is the Difference?
Compare selling a long put with exercising it, including time value, share delivery and capital requirements.
Read the guide →
Theta and Time Decay in Long Put Options
Learn how theta erodes long put value, why decay accelerates and how moneyness and volatility affect the rate.
Read the guide →
How Implied Volatility Affects a Long Put
Understand put vega, event premiums and volatility crush before buying downside exposure.
Read the guide →
Protective Put vs Long Put: Purpose and Risk Compared
Compare a standalone bearish long put with a protective put used to insure shares already owned.
Read the guide →
Buying Put Options: 10 Risks and Mistakes to Avoid
Avoid the long put mistakes involving timing, volatility, liquidity, sizing, strike selection and exit planning.
Read the guide →
Put Option Delta Explained for Long Put Traders
Learn why put delta is negative and how it estimates price sensitivity, moneyness and directional exposure.
Read the guide →
What Is Selling a Put Option and How Does It Work?
Learn the premium, obligation, assignment and expiration outcomes created by selling a put.
Read the guide →
Cash-Secured Put vs Naked Put: Risk Compared
Compare collateral, assignment capacity, buying power and downside exposure in two short-put structures.
Read the guide →
How to Sell a Cash-Secured Put: Step-by-Step Guide
Build a cash-secured put from stock selection through strike, expiration, collateral and order entry.
Read the guide →
Short Put Profit, Loss and Breakeven Explained
Calculate maximum profit, expiration breakeven and downside loss for a short put.
Read the guide →
How to Choose a Short Put Strike Price
Balance premium, assignment probability, effective purchase price and liquidity when selecting a strike.
Read the guide →
How to Choose a Short Put Expiration Date
Compare premium, theta, event exposure and management frequency across short-put expirations.
Read the guide →
Short Put Assignment Explained
Understand when put sellers may be assigned and how the resulting stock purchase is calculated.
Read the guide →
Early Assignment Risk for Short Put Options
Learn why deep intrinsic value, low time value and borrow conditions can increase early assignment risk.
Read the guide →
How to Roll a Short Put
Compare rolling out, down, and down-and-out while keeping gains and losses honestly separated.
Read the guide →
When to Close a Short Put
Use remaining premium, assignment preference, risk changes and event exposure to plan an exit.
Read the guide →
Selling Put Options: 10 Risks and Mistakes to Avoid
Avoid oversized positions, weak stocks, misunderstood assignment and misleading premium yields.
Read the guide →
How Much Income Can Cash-Secured Puts Generate?
Estimate realistic cash-secured put returns without treating premium as guaranteed profit.
Read the guide →
Cash-Secured Put vs Limit Order to Buy Stock
Compare premium collection with the certainty and simplicity of a stock limit order.
Read the guide →
Short Put vs Covered Call: Payoff and Risk Compared
Compare two premium strategies through collateral, assignment, capped reward and stock exposure.
Read the guide →
Selling Put Options: Margin and Buying Power
Understand cash collateral, broker margin, changing requirements and liquidation risk when selling puts.
Read the guide →
What Is Theta in Options?
Learn what option theta measures, why it is usually negative for buyers and positive for sellers, and what the number can—and cannot—predict.
Read the guide →
How Time Decay Works in Options
Understand how an option's extrinsic value erodes, why the path is nonlinear and how expiration changes the balance between opportunity and decay.
Read the guide →
Positive Theta vs Negative Theta
Compare positions that theoretically benefit from time passing with positions that pay for time, and see why the sign alone does not define risk.
Read the guide →
Theta in Long Options vs Short Options
See how the same time-value decay creates opposite exposure for option buyers and sellers—and why neither side has a free advantage.
Read the guide →
Why Option Time Decay Accelerates Near Expiration
Learn why the final weeks can change an option's time value rapidly and why the familiar decay curve differs across strikes.
Read the guide →
Theta in ITM, ATM and OTM Options
Compare how time decay behaves for in-the-money, at-the-money and out-of-the-money options as expiration approaches.
Read the guide →
Option Theta Over Weekends and Holidays
Understand how markets price non-trading days, why Monday is not simply a three-day theta charge and what event risk can change.
Read the guide →
Theta vs Implied Volatility: How They Interact
Separate time decay from volatility repricing and understand why an option can gain value despite negative theta—or fall despite positive theta.
Read the guide →
Theta vs Gamma Near Expiration
Understand the tradeoff between faster time decay and faster delta changes when options approach expiration.
Read the guide →
Theta in 0DTE and Weekly Options
Learn why short-dated options combine rapid time decay with extreme price sensitivity, execution risk and little recovery time.
Read the guide →
Theta in LEAPS and Long-Term Options
See why long-dated options usually decay more slowly per day yet can carry substantial premium, vega exposure and capital risk.
Read the guide →
How to Calculate Option Time Decay Using Theta
Translate a quoted theta into estimated daily dollar exposure and avoid the common mistakes of treating it as a fixed forecast.
Read the guide →
Positive Theta Option Strategies for Sellers
Compare defined- and undefined-risk ways to seek time decay while keeping direction, volatility and assignment risk in view.
Read the guide →
How Option Buyers Can Reduce Time Decay
Use expiration, strike, timing, spreads and exit rules to control theta without pretending that time risk can be eliminated.
Read the guide →
Theta and Time Decay: 10 Mistakes to Avoid
Avoid the most common errors involving fixed daily decay, weekends, expiration, cheap options, premium selling and Greek isolation.
Read the guide →
What Is Vega in Options?
Learn what option vega measures, how a one-point change in implied volatility can affect premium, and why vega is an estimate rather than a promise.
Read the guide →
Implied Volatility in Options Explained
Understand what implied volatility says about option prices, expected movement and uncertainty—and what it does not predict.
Read the guide →
Vega in Long Options vs Short Options
See why option buyers are usually long vega, sellers are usually short vega, and neither exposure is automatically superior.
Read the guide →
Positive Vega vs Negative Vega
Compare volatility-seeking and volatility-selling positions, including their likely benefits, tradeoffs and risk controls.
Read the guide →
How to Calculate Option Vega
Turn the vega shown in an option chain into estimated dollar exposure for one contract, multiple contracts and spreads.
Read the guide →
Vega in ITM, ATM and OTM Options
Compare implied-volatility sensitivity across in-the-money, at-the-money and out-of-the-money contracts.
Read the guide →
Vega by Expiration: Long-Term vs Short-Term Options
Learn why longer-dated options generally carry more vega and how short-dated event risk can complicate the comparison.
Read the guide →
Historical Volatility vs Implied Volatility
Separate realized past movement from the volatility embedded in current option premiums and use the comparison carefully.
Read the guide →
IV Rank vs IV Percentile
Learn how two popular volatility metrics differ, what each denominator means and why platform definitions must be checked.
Read the guide →
What Is Volatility Crush in Options?
Understand why option premiums can fall after a known event even when the underlying moves in the expected direction.
Read the guide →
Vega and Implied Volatility Around Earnings
Plan for the rise, skew and post-event reset of implied volatility around a company earnings announcement.
Read the guide →
Vega vs Theta in Options
Understand the tension between volatility exposure and time decay in long and short option positions.
Read the guide →
Vega-Neutral Option Strategies
Learn how traders approximate zero net vega, why neutrality is temporary and which risks remain after hedging volatility exposure.
Read the guide →
VIX vs Implied Volatility
Distinguish the broad-market VIX Index from the implied volatility quoted for a specific stock, strike and expiration.
Read the guide →
Vega and Volatility: 10 Mistakes to Avoid
Avoid common errors involving volatility points, earnings crush, IV rank, vega scaling, direction and portfolio exposure.
Read the guide →
What Is Delta in Options?
Learn what option delta measures, how it connects stock movement to option premium and why the number changes throughout a trade.
Read the guide →
Call Delta vs Put Delta
Compare the direction and range of call and put delta, including how long and short positions reverse the exposure.
Read the guide →
Positive Delta vs Negative Delta
Understand bullish and bearish portfolio exposure through delta without confusing direction with maximum risk or probability of profit.
Read the guide →
Option Delta for ITM, ATM and OTM Contracts
See how delta behaves across in-the-money, at-the-money and out-of-the-money options and as expiration approaches.
Read the guide →
How to Calculate Option Delta Exposure
Convert quoted delta into contract and portfolio dollar sensitivity using position signs, quantities and contract multipliers.
Read the guide →
Can Delta Estimate Probability In the Money?
Learn why traders use delta as a rough probability proxy—and why it is not the same as an exact expiration forecast.
Read the guide →
Delta as Share Equivalent
Use position delta to compare option exposure with shares while respecting the nonlinear payoff of options.
Read the guide →
What Is Gamma in Options?
Learn how gamma measures the change in delta, why long options have positive gamma and where gamma risk becomes concentrated.
Read the guide →
Delta vs Gamma in Options
Separate current directional sensitivity from the rate at which that sensitivity changes as the underlying moves.
Read the guide →
Gamma Risk Near Option Expiration
Understand why near-expiration options can switch directional exposure rapidly around the strike and how that affects buyers and sellers.
Read the guide →
How Delta Hedging Works in Options
Learn how shares or options can offset directional exposure, why hedges drift and what risks remain after reaching zero delta.
Read the guide →
Portfolio Delta and Beta Weighting
Aggregate directional exposure across positions and understand how beta weighting creates an approximate common market benchmark.
Read the guide →
Delta-Neutral Option Strategies
Explore how traders construct near-zero delta positions and why neutrality is temporary rather than risk-free.
Read the guide →
How to Read Delta in an Option Chain
Use delta columns to compare strikes, expirations and directional exposure without overlooking spreads, liquidity and changing inputs.
Read the guide →
Delta and Gamma: 10 Mistakes to Avoid
Avoid common errors involving signs, multipliers, probability shortcuts, static hedges and expiration gamma.
Read the guide →
Option Greeks Explained: Delta, Gamma, Theta, Vega and Rho
Learn what the five principal option Greeks measure and how they work together to describe a changing position.
Read the guide →
How Option Greeks Interact
Understand how price, time and volatility change several Greeks simultaneously and reshape an option position's risk.
Read the guide →
What Is Rho in Options?
Learn how interest-rate changes can affect call and put premiums, especially for longer-dated options.
Read the guide →
Option Greeks for a Long Call
See how delta, gamma, theta, vega and rho combine in a purchased call from entry through expiration.
Read the guide →
Option Greeks for a Long Put
Understand the combined directional, convexity, time and volatility exposure of a purchased put.
Read the guide →
Option Greeks for Credit Spreads
Analyze the net delta, gamma, theta and vega of bull put and bear call spreads instead of focusing only on premium collected.
Read the guide →
Option Greeks for Debit Spreads
Learn how vertical debit spreads reshape the Greeks of a long option by selling another strike against it.
Read the guide →
Option Greeks for Straddles and Strangles
Compare the Greek profile of long and short volatility positions that use both a call and a put.
Read the guide →
Option Greeks for an Iron Condor
Understand the changing delta, gamma, theta and vega of an iron condor as price approaches either short strike.
Read the guide →
Option Greeks for Calendar Spreads
Learn how different expirations create a calendar spread's distinctive theta, vega and gamma profile.
Read the guide →
Option Greeks Around Earnings
Combine delta, gamma, theta and vega when evaluating an options position before and after an earnings announcement.
Read the guide →
How to Measure Portfolio Option Greeks
Aggregate Greeks across stocks and option positions while accounting for contract sizes, different underlyings and changing correlations.
Read the guide →
Option Greeks Scenario Analysis
Build practical price, time and volatility scenarios that go beyond multiplying today's Greek values by one market change.
Read the guide →
How Option Greeks Affect Profit and Loss
Connect daily option P&L with delta, gamma, theta, vega and rho while recognizing unexplained model and execution effects.
Read the guide →
Option Greeks: 12 Mistakes to Avoid
Avoid common errors involving static Greeks, contract scaling, probability shortcuts, events, hedging and multi-leg positions.
Read the guide →Buying to Open vs Selling to Open: Key Differences
Compare buying to open and selling to open, including rights, obligations, margin, assignment risk and practical order-entry examples.
Read the guide →
Butterfly Spread vs Iron Butterfly: Key Differences
Compare a standard butterfly spread with an iron butterfly through construction, debit or credit, risk, breakevens, volatility and assignment.
Read the guide →
Case Studies: Effective Portfolio Hedges with VIX Options
Study practical VIX option hedge structures, sizing, timing, volatility term structure and the limitations of portfolio protection.
Read the guide →
Synthetic Futures Using Options
Learn how matching-strike calls and puts can create synthetic long or short futures exposure, including payoff, margin and expiration risk.
Read the guide →Can You Sell a Put Option Before Expiration?
Learn how to sell a long put before expiration, choose an order, preserve time value and compare selling with exercising.
Read the guide →
Best Options Strategies for Small Accounts
Compare defined-risk options strategies for smaller accounts, including long options, vertical spreads and cash-secured approaches.
Read the guide →Choosing the Right Strike Price for a Put Option
Choose a put option strike using moneyness, delta, premium, breakeven, liquidity and the purpose of the trade.
Read the guide →¿Qué son las opciones? Una definición sencilla
Aprende qué son las opciones financieras, cómo funcionan las calls y puts, qué significa la prima y cuáles son los principales riesgos.
Read the guide →Assignment on Expiration: How It Works
Understand option assignment at expiration, automatic exercise, resulting share positions, settlement and the risks of holding spreads too long.
Read the guide →
Best Tools for Monitoring Open Options Positions
Compare the essential tools for tracking open options positions, Greeks, P&L, volatility, earnings, assignment and portfolio exposure.
Read the guide →
Bull Call Spread Explained: Strategy, Risk and Reward
Learn how a bull call spread combines a long call and a higher-strike short call to create a defined-risk bullish options position.
Read the guide →
How to Build a Bull Call Spread
Follow a practical process for selecting the underlying, buying the lower strike, selling the higher strike and entering the spread as one order.
Read the guide →
Bull Call Spread Profit, Loss and Breakeven
Calculate the maximum profit, maximum loss and expiration breakeven of a bull call debit spread using its strikes and net debit.
Read the guide →
Bull Call Spread Example With Full Payoff Scenarios
Walk through a bull call spread from entry to expiration across prices below, between and above its two strikes.
Read the guide →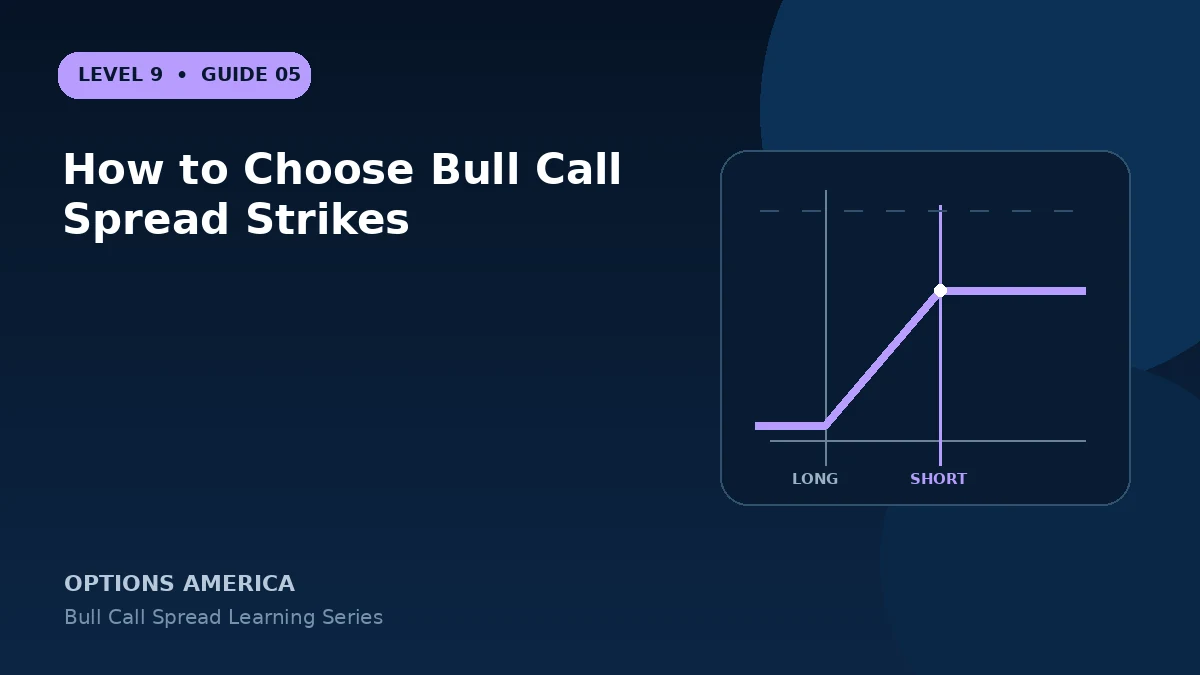
How to Choose Bull Call Spread Strikes
Choose long and short call strikes using the price target, delta, debit, breakeven, spread width and desired probability profile.
Read the guide →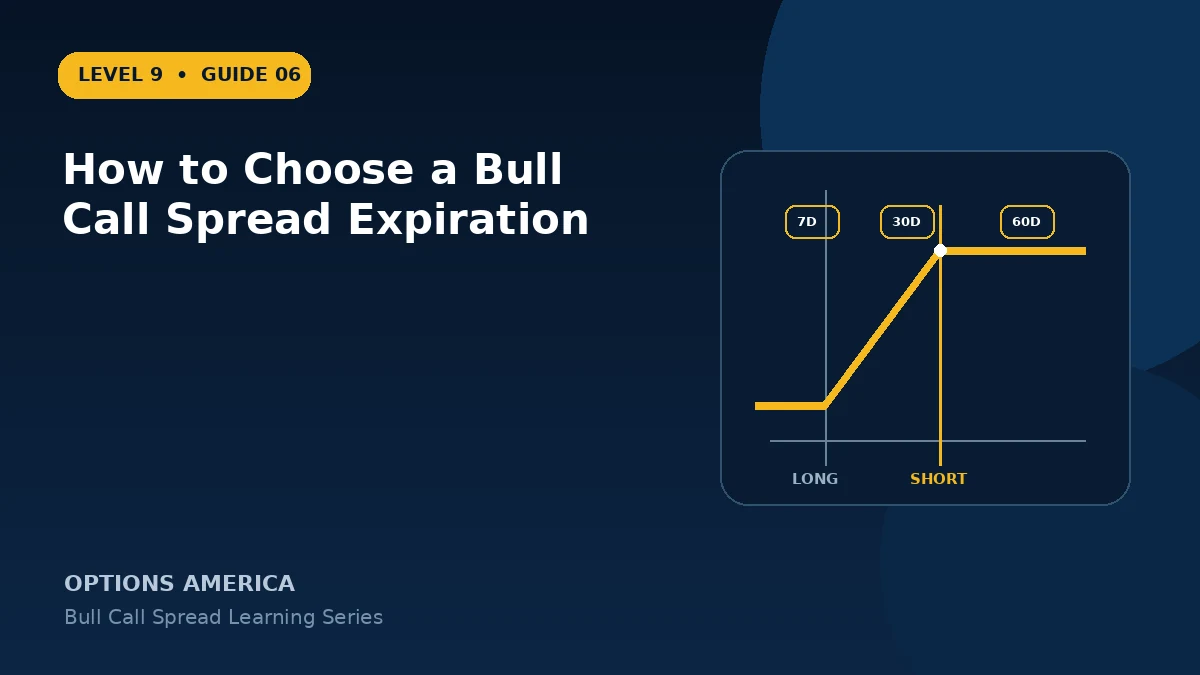
How to Choose a Bull Call Spread Expiration
Match expiration to the bullish thesis while balancing time cost, theta, liquidity, event risk and the timing of the expected move.
Read the guide →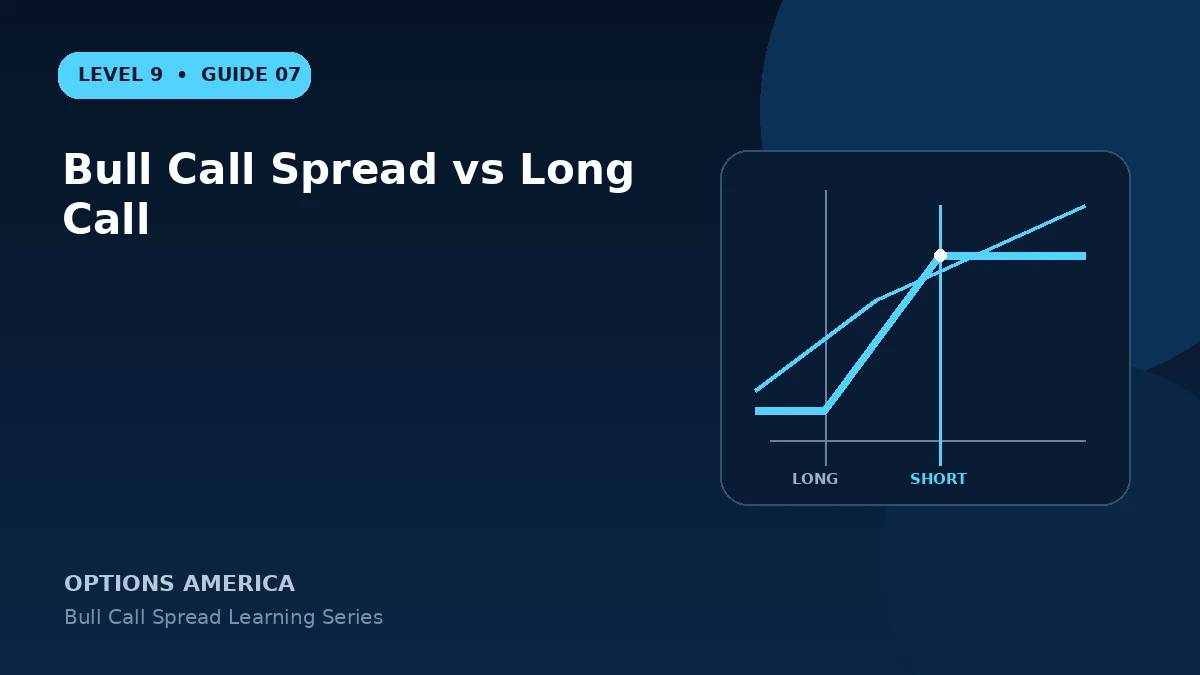
Bull Call Spread vs Long Call
Compare a call debit spread with buying one call across cost, maximum profit, breakeven, Greeks and the size of the expected move.
Read the guide →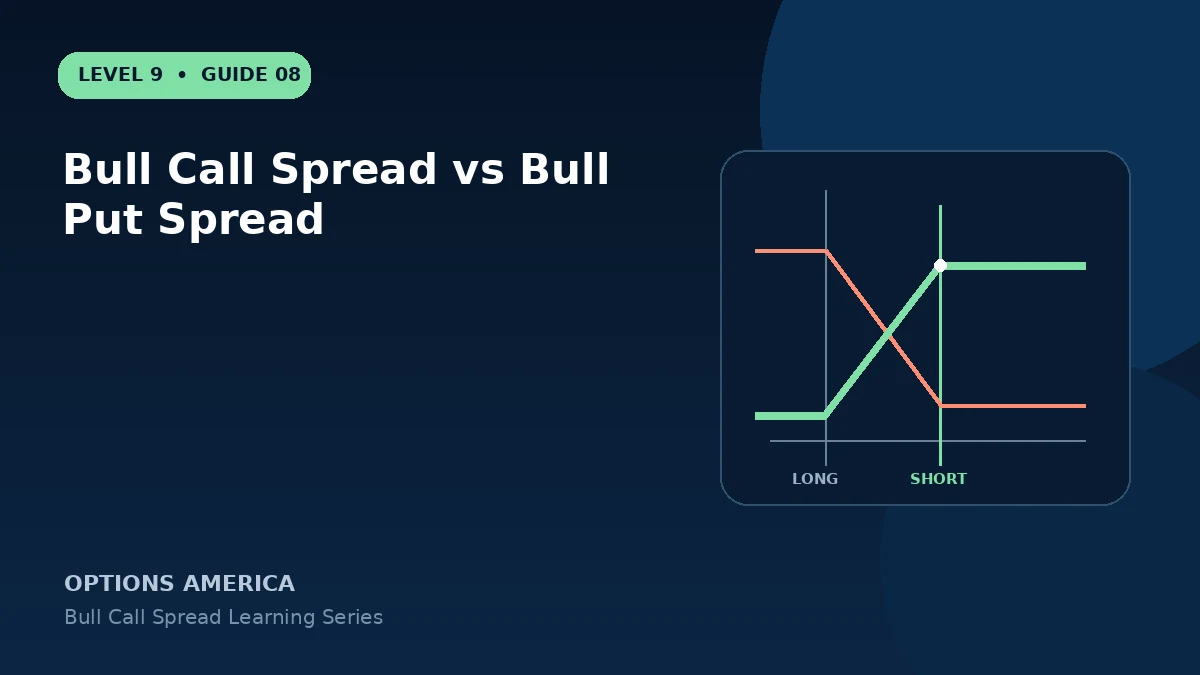
Bull Call Spread vs Bull Put Spread
Compare two defined-risk bullish vertical spreads through debit versus credit, payoff, assignment, volatility and buying-power treatment.
Read the guide →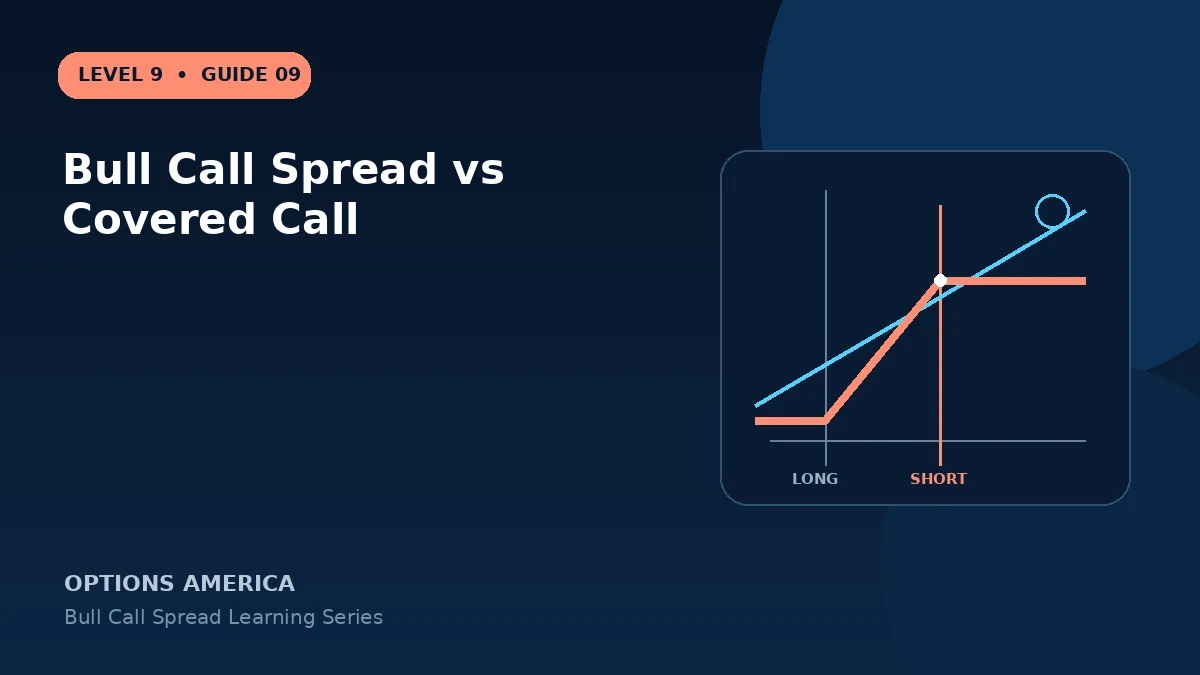
Bull Call Spread vs Covered Call
Compare a defined-risk call debit spread with stock plus a short call across capital, downside exposure, dividends and return profile.
Read the guide →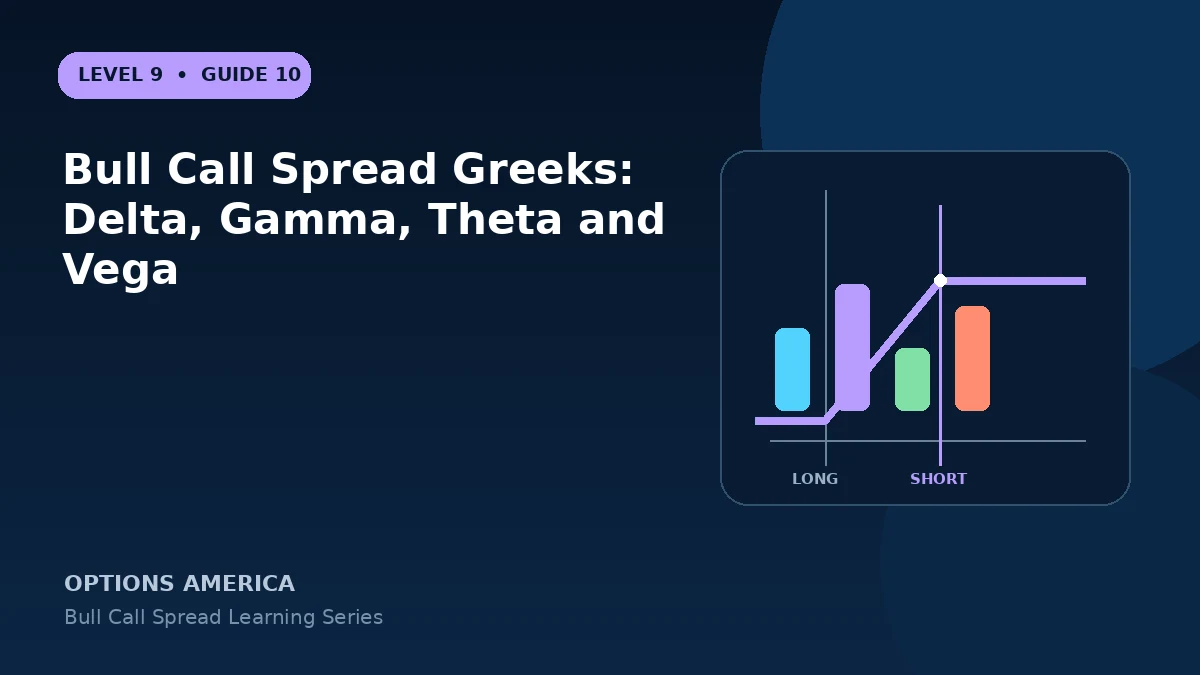
Bull Call Spread Greeks: Delta, Gamma, Theta and Vega
Understand the net Greeks of a bull call debit spread and how they change as price moves between the long and short strikes.
Read the guide →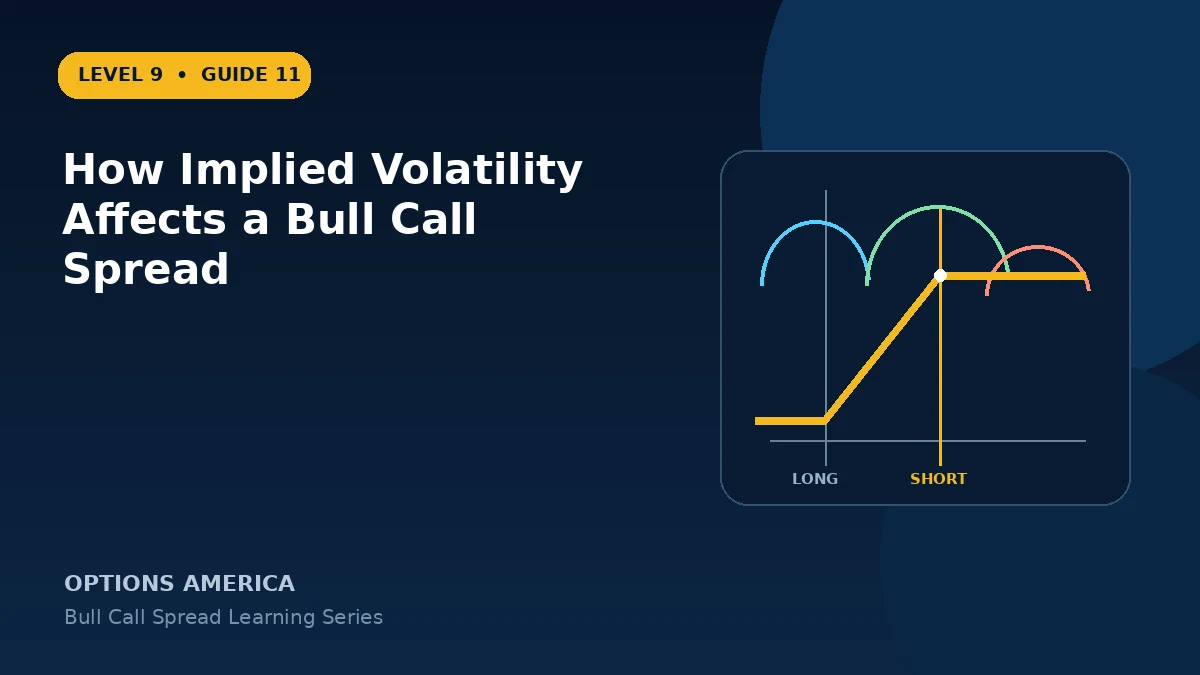
How Implied Volatility Affects a Bull Call Spread
Learn how changes in implied volatility affect both legs of a call debit spread and why net vega is smaller than a long call's.
Read the guide →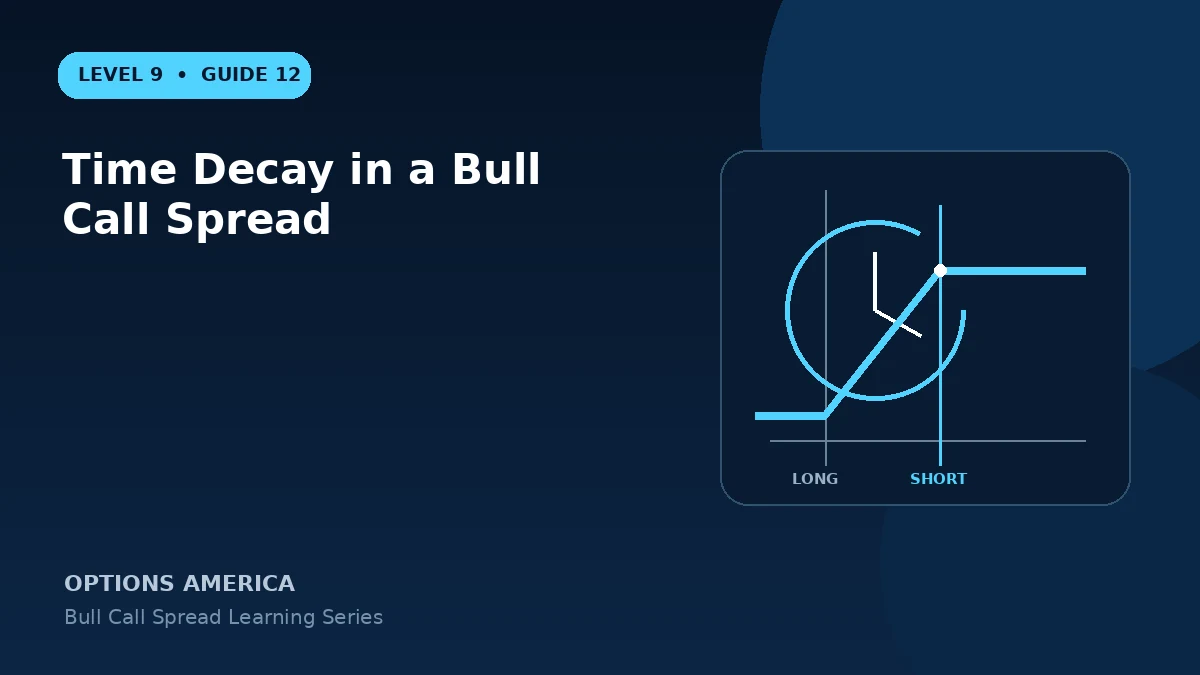
Time Decay in a Bull Call Spread
See how theta affects both calls and why time can hurt, help or have little effect depending on price relative to the strikes.
Read the guide →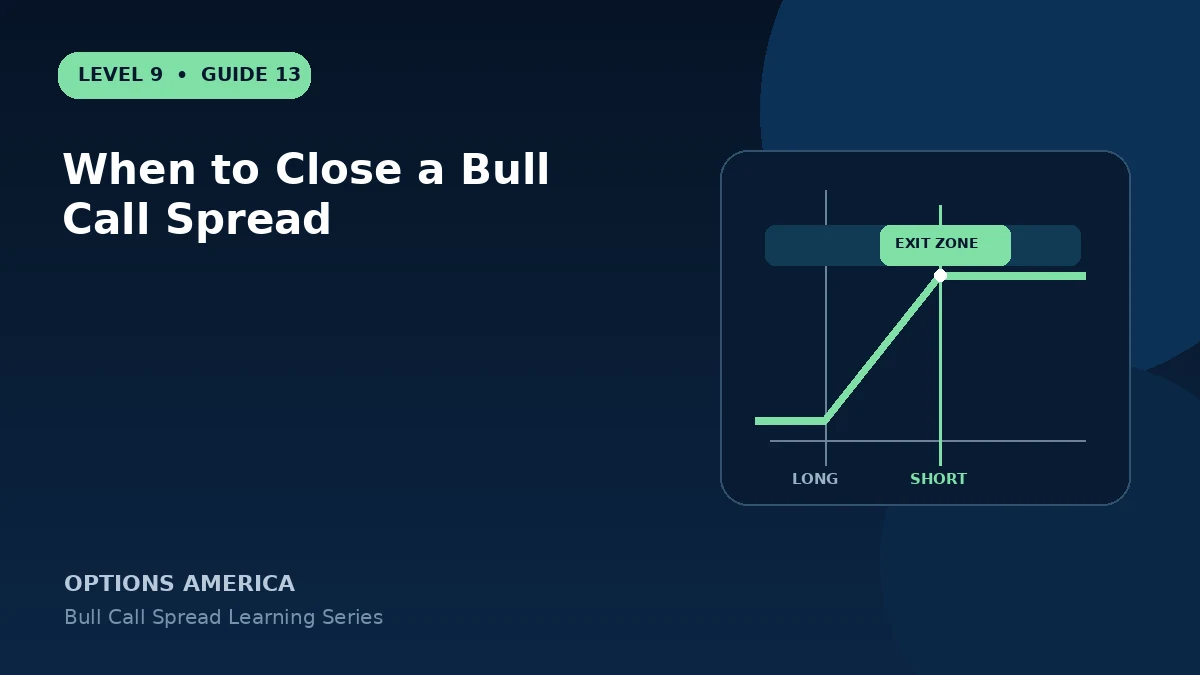
When to Close a Bull Call Spread
Create profit, loss, time and event exits for a bull call spread instead of relying on hope or holding automatically to expiration.
Read the guide →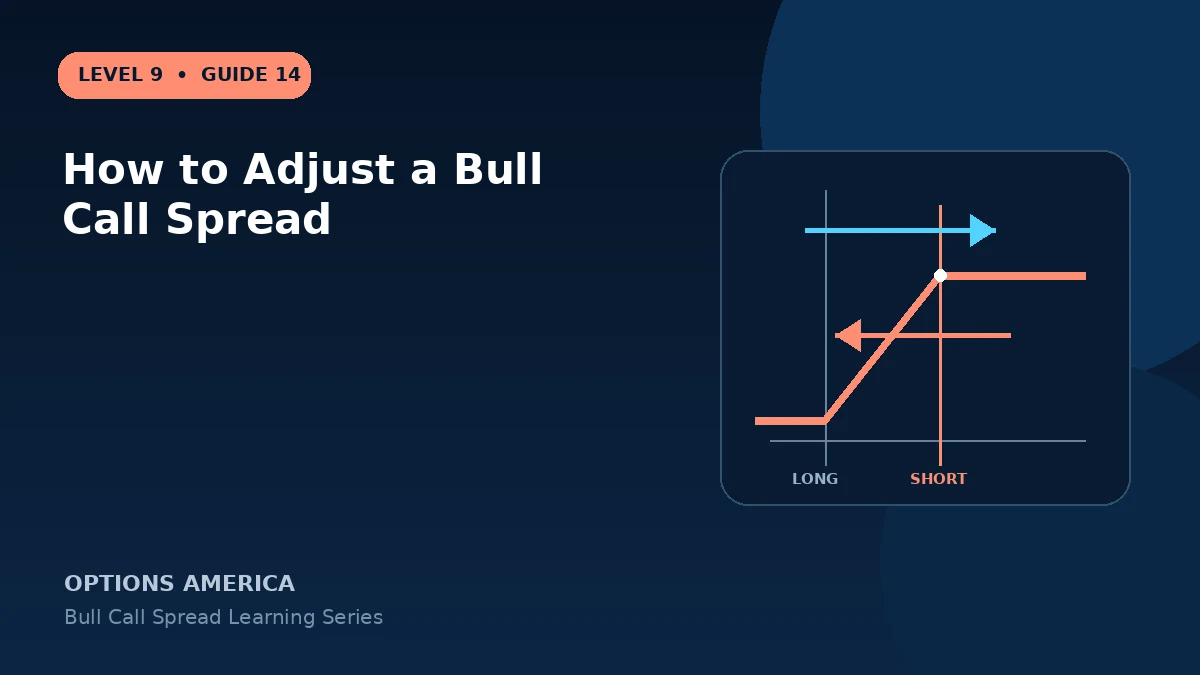
How to Adjust a Bull Call Spread
Evaluate closing, rolling or restructuring a bull call spread while recognizing that every adjustment creates a new trade with new risk.
Read the guide →
Bull Call Spread: 12 Mistakes to Avoid
Avoid common bull call spread errors involving strikes, debit, liquidity, earnings, assignment, expiration and position management.
Read the guide →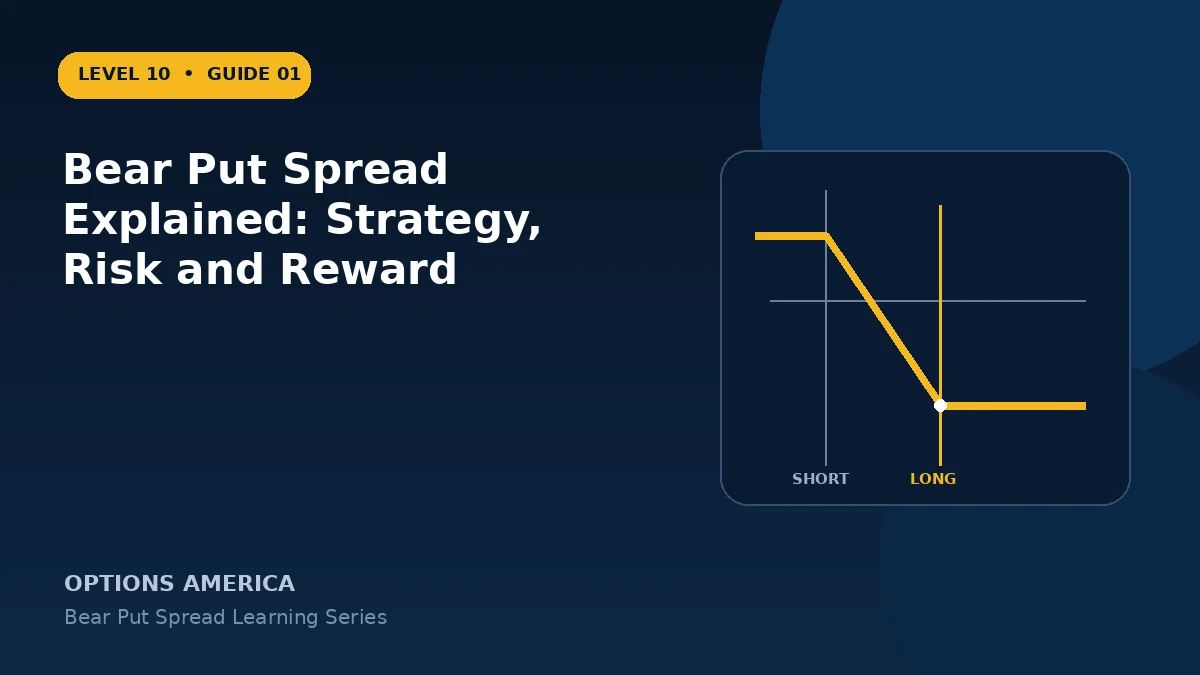
Bear Put Spread Explained: Strategy, Risk and Reward
Learn how a bear put spread combines a long put and a lower-strike short put to create a defined-risk bearish options position.
Read the guide →
How to Build a Bear Put Spread
Follow a practical process for selecting an underlying, buying the higher-strike put and selling the lower-strike put as one order.
Read the guide →
Bear Put Spread Profit, Loss and Breakeven
Calculate maximum profit, maximum loss and expiration breakeven for a bear put debit spread using its two strikes and net debit.
Read the guide →
Bear Put Spread Example With Full Payoff Scenarios
Walk through one bear put spread across expiration prices above the long strike, between the strikes and below the short strike.
Read the guide →
How to Choose Bear Put Spread Strikes
Choose long and short put strikes using the downside target, delta, debit, breakeven, width and probability profile.
Read the guide →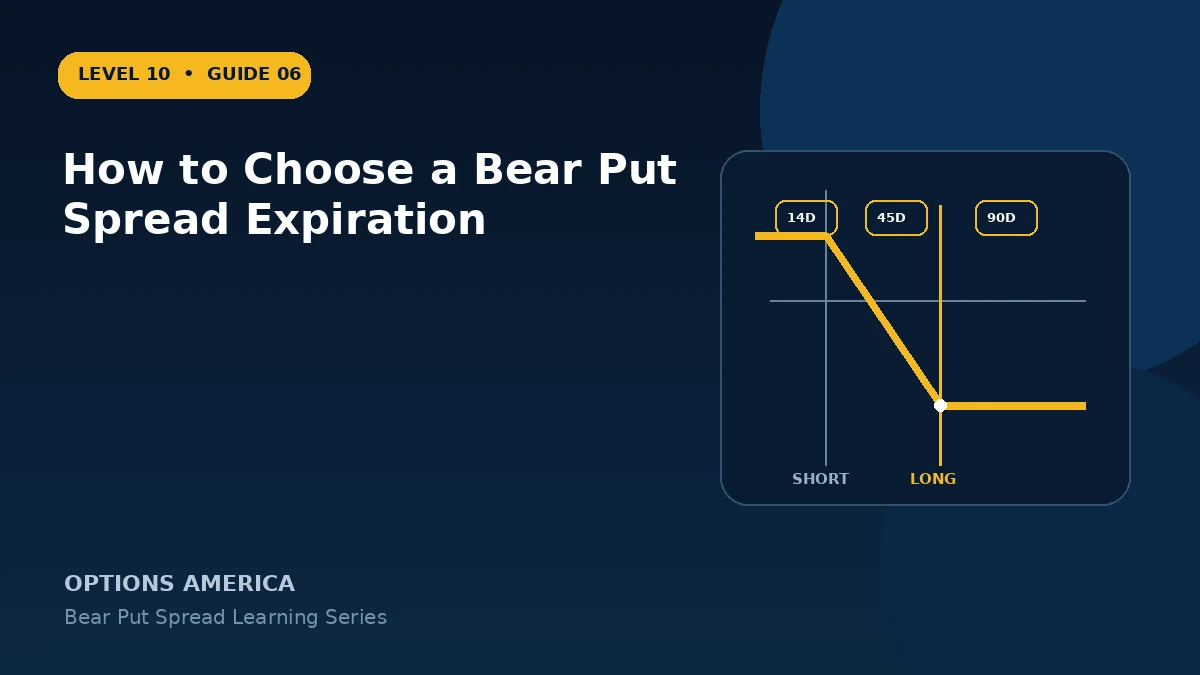
How to Choose a Bear Put Spread Expiration
Match expiration to the bearish thesis while balancing time cost, theta, event risk, liquidity and the expected timing of the decline.
Read the guide →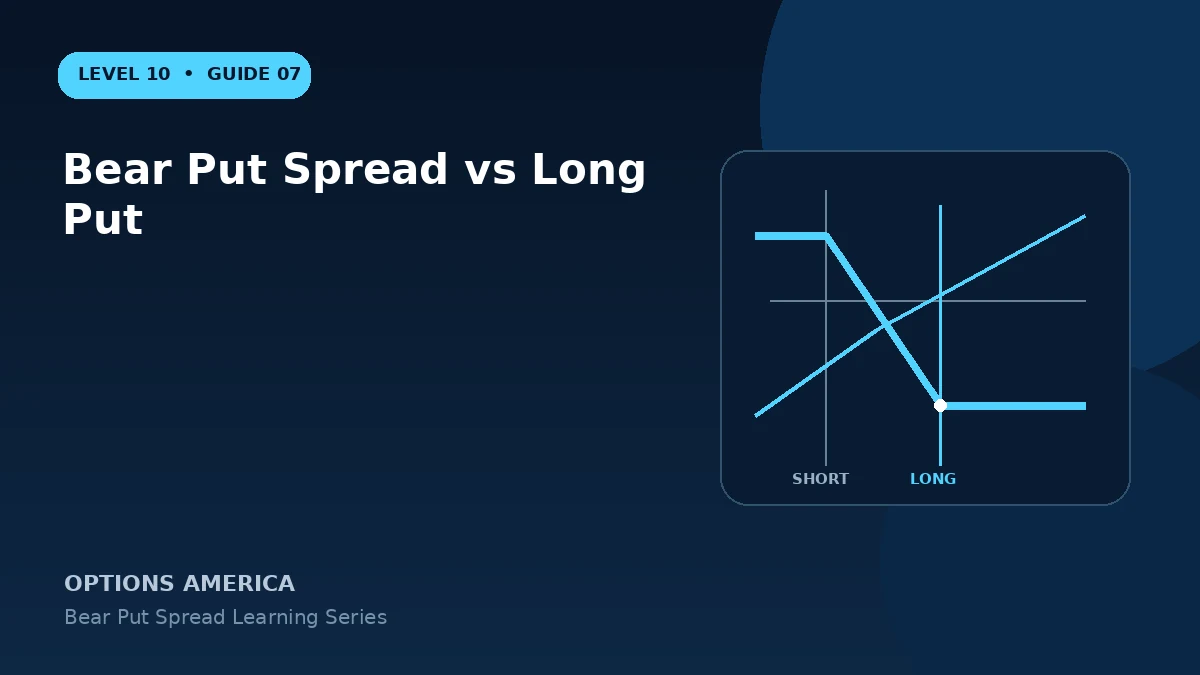
Bear Put Spread vs Long Put
Compare a put debit spread with buying one put across cost, downside potential, breakeven, theta, vega and target size.
Read the guide →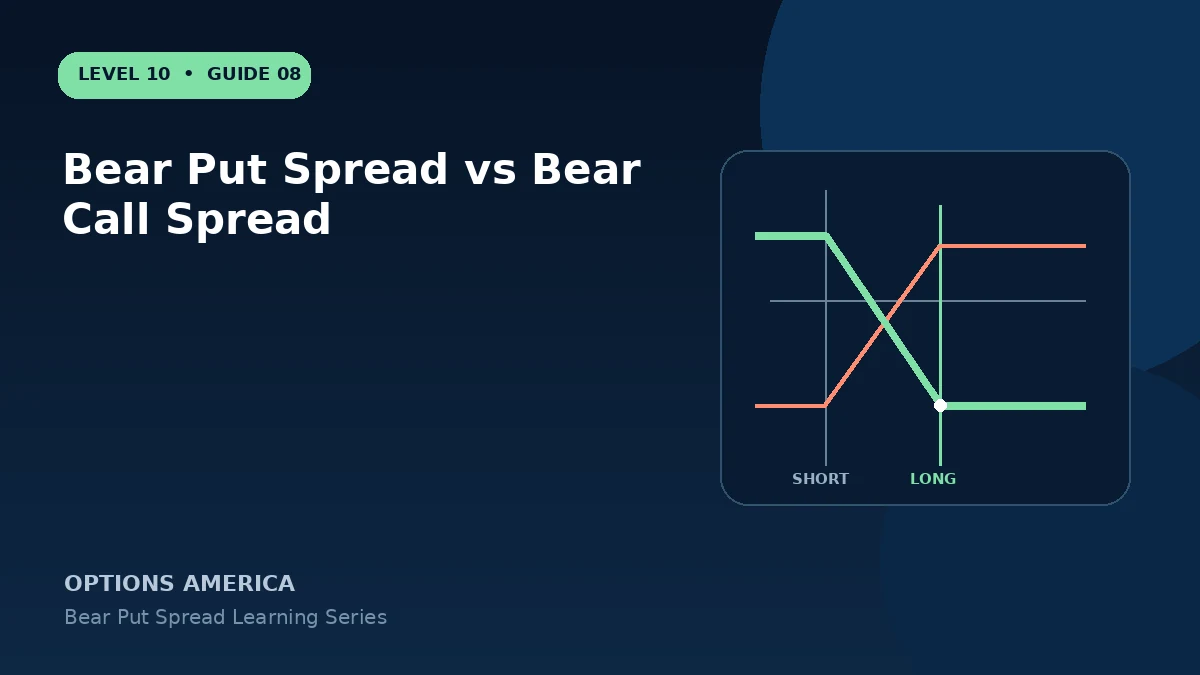
Bear Put Spread vs Bear Call Spread
Compare bearish put debit and call credit spreads through payoff location, theta, vega, assignment and buying-power treatment.
Read the guide →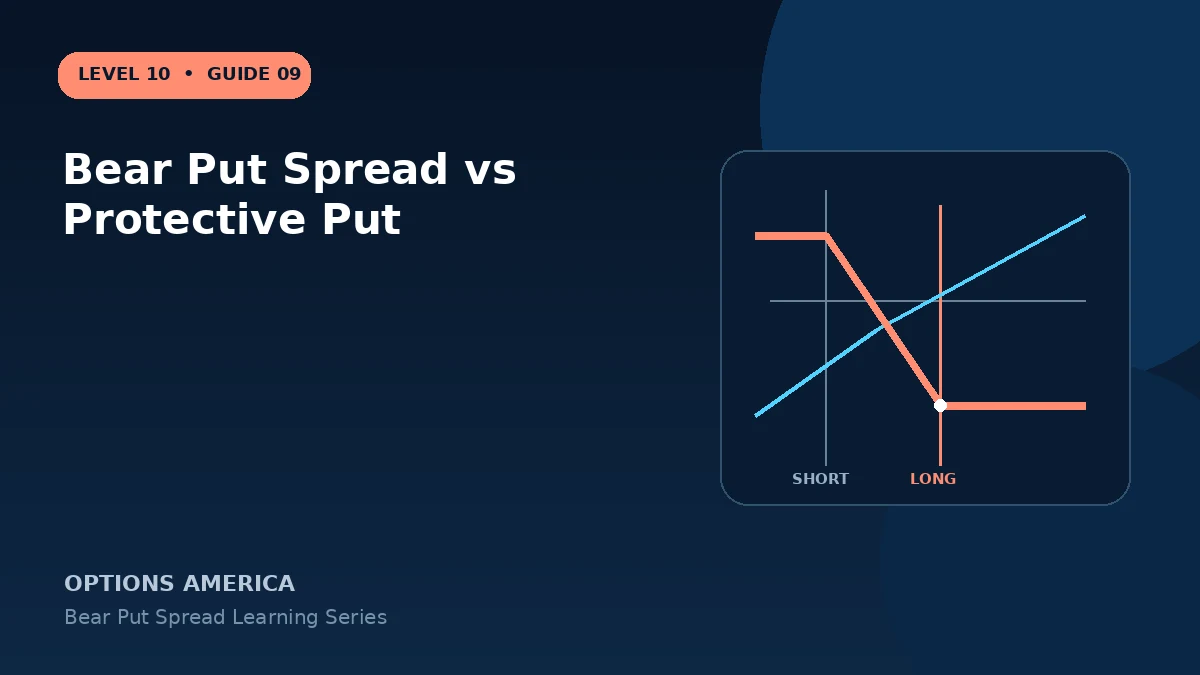
Bear Put Spread vs Protective Put
Compare a speculative bearish vertical spread with owning shares plus a protective put across objective, capital and downside exposure.
Read the guide →
Bear Put Spread Greeks: Delta, Gamma, Theta and Vega
Understand the net Greeks of a bear put debit spread and how they evolve as price moves between and beyond its strikes.
Read the guide →
How Implied Volatility Affects a Bear Put Spread
Learn how volatility level, downside skew and event-driven IV changes affect both legs of a bear put debit spread.
Read the guide →
Time Decay in a Bear Put Spread
See how theta changes when the underlying is above, between or below the two put strikes as expiration approaches.
Read the guide →
When to Close a Bear Put Spread
Plan profit, loss, time and event exits for a bear put spread instead of automatically holding until expiration.
Read the guide →
How to Adjust a Bear Put Spread
Evaluate closing, rolling or restructuring a bear put spread while treating every adjustment as a new risk decision.
Read the guide →
Bear Put Spread: 12 Mistakes to Avoid
Avoid common errors involving bearish targets, strikes, debit, volatility skew, liquidity, assignment and expiration.
Read the guide →
Short Iron Condor Explained: Strategy, Risk and Reward
Learn how a short iron condor combines two credit spreads to create a defined-risk options position for a range-bound market.
Read the guide →
How to Build a Short Iron Condor
Build a short iron condor by selecting an underlying, expiration, short strikes, protective wings and a four-leg limit credit.
Read the guide →
Short Iron Condor Profit, Loss and Breakevens
Calculate maximum profit, maximum loss and both expiration breakevens from the strikes, wing widths and net credit.
Read the guide →
Short Iron Condor Example With Full Payoff Scenarios
Follow a complete iron condor example across prices below, inside and above its profit range at expiration.
Read the guide →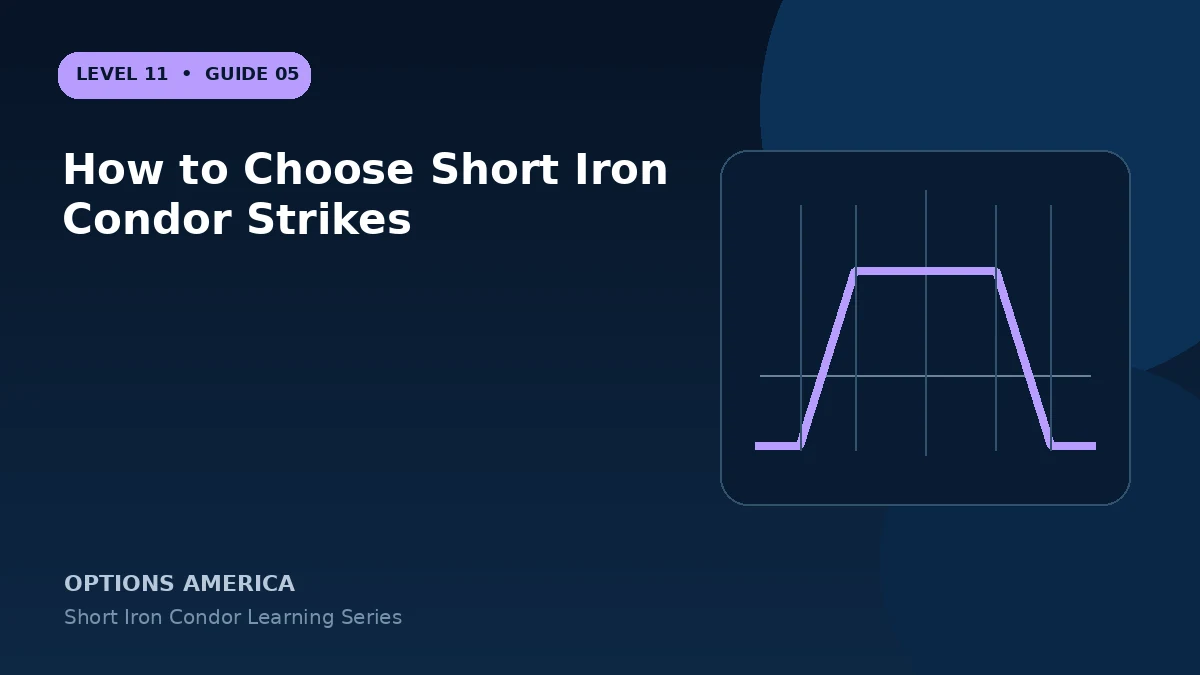
How to Choose Short Iron Condor Strikes
Choose short strikes and protective wings using expected range, delta, skew, credit, liquidity and maximum-loss limits.
Read the guide →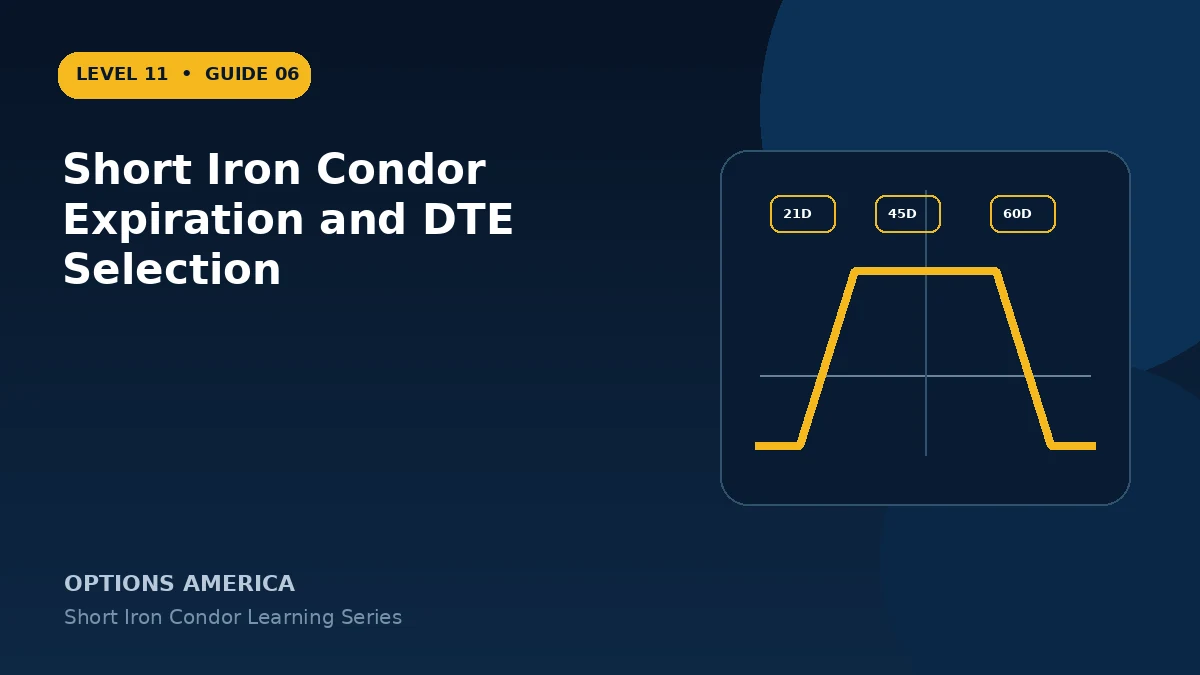
Short Iron Condor Expiration and DTE Selection
Compare short and longer expirations for credit, theta, gamma, vega, event exposure and management time.
Read the guide →
IV Rank and IV Percentile for Short Iron Condors
Use IV Rank, IV Percentile, term structure and event context when evaluating a short iron condor entry.
Read the guide →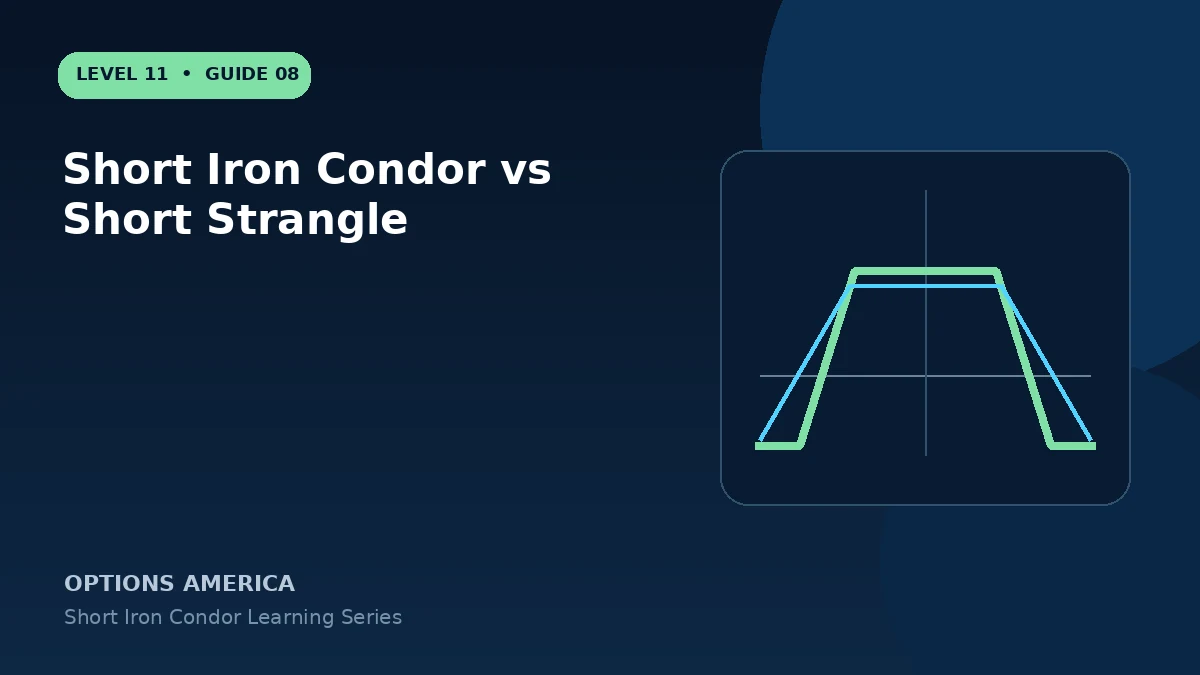
Short Iron Condor vs Short Strangle
Compare two neutral premium strategies across credit, maximum loss, buying power, Greeks, adjustment flexibility and tail risk.
Read the guide →
Iron Condor vs Iron Butterfly
Compare the short iron condor and iron butterfly through strike placement, credit, profit range, breakevens and directional tolerance.
Read the guide →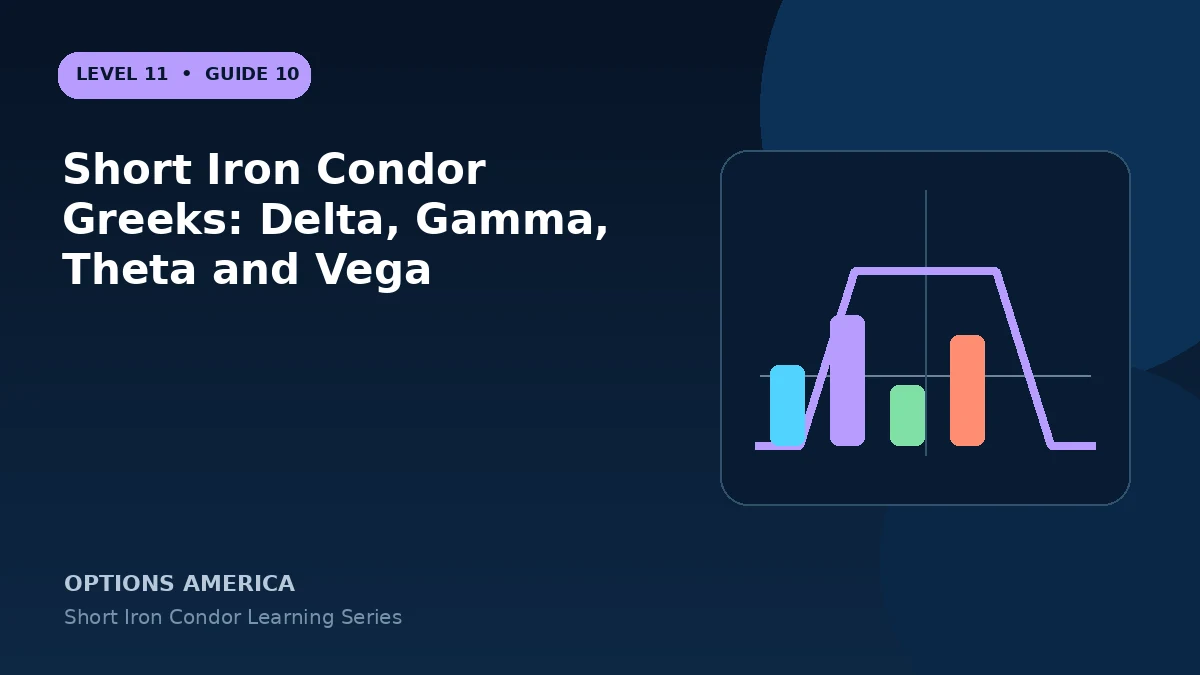
Short Iron Condor Greeks: Delta, Gamma, Theta and Vega
Understand how four option legs combine into the net Greeks of a short iron condor and how those exposures change near each boundary.
Read the guide →
Theta and Time Decay in a Short Iron Condor
Learn when time decay helps a short iron condor and why positive theta does not remove price, gamma or volatility risk.
Read the guide →
Implied Volatility and Vega in a Short Iron Condor
Understand how IV contraction, expansion, skew and term structure affect the four legs of a short iron condor.
Read the guide →
How to Adjust a Short Iron Condor
Evaluate rolling, moving the untested side, adding protection, narrowing risk or closing without turning one defined trade into uncontrolled exposure.
Read the guide →
When to Close a Short Iron Condor
Create profit, loss, time, volatility and event exits for a short iron condor before opening the four-leg position.
Read the guide →
Short Iron Condor: 12 Mistakes to Avoid
Avoid errors involving IV, narrow ranges, small credits, position size, liquidity, adjustments, assignment and expiration.
Read the guide →
Butterfly Spread Explained: Strategy, Risk and Reward
Learn how a butterfly spread uses three strikes to create a defined-risk options position centered on a target price.
Read the guide →
How to Build a Butterfly Spread
Build a long butterfly by defining a price target, selecting three strikes and entering the four contracts as one limit order.
Read the guide →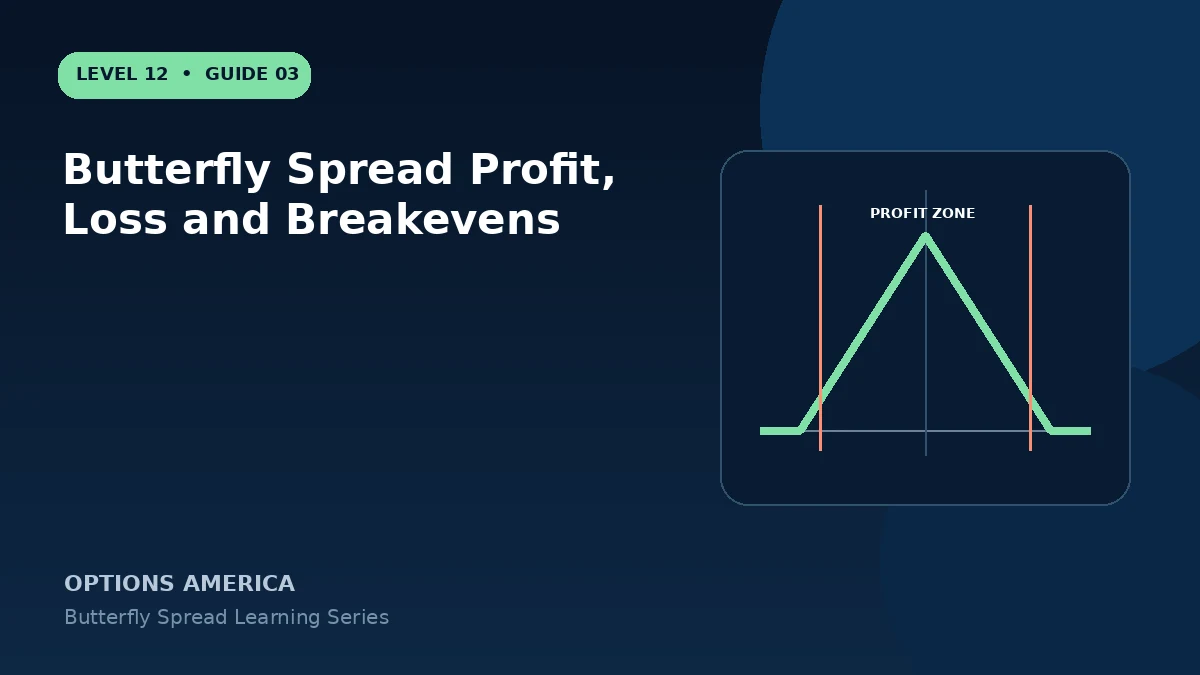
Butterfly Spread Profit, Loss and Breakevens
Calculate maximum profit, maximum loss and the two expiration breakevens for a standard equal-wing long butterfly.
Read the guide →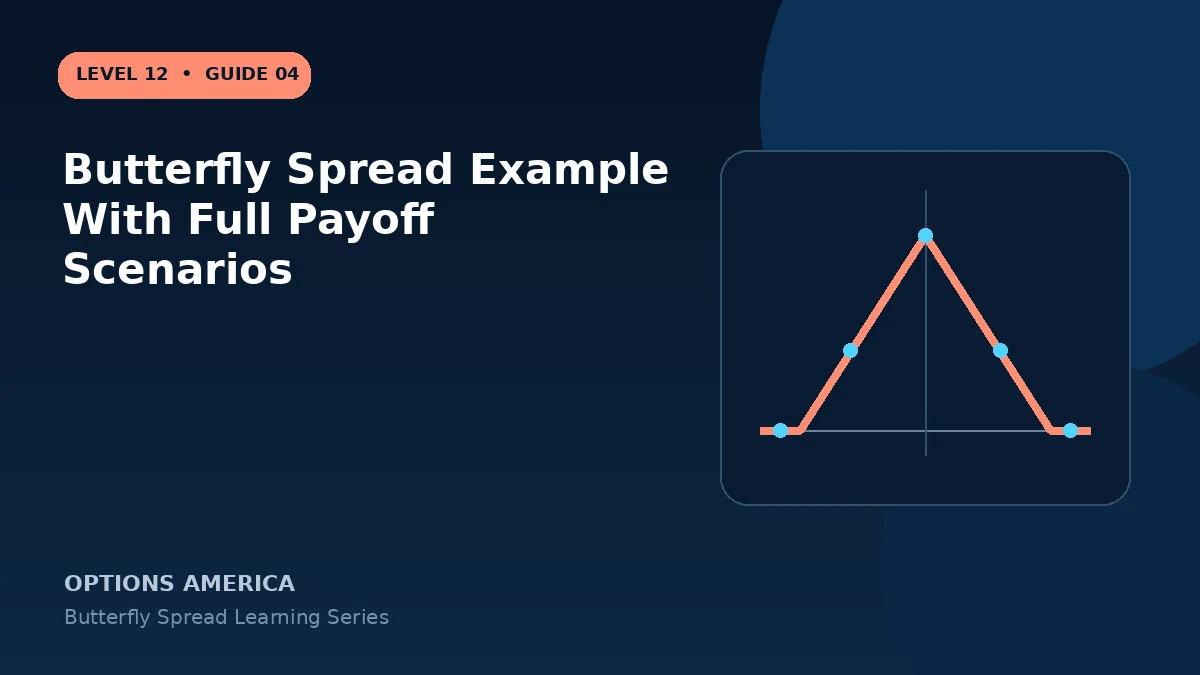
Butterfly Spread Example With Full Payoff Scenarios
Walk through a long call butterfly across expiration prices below, near and above its three strikes.
Read the guide →
How to Choose Butterfly Spread Strikes
Choose the lower strike, body and upper strike using the target price, wing width, debit, delta, liquidity and desired profit zone.
Read the guide →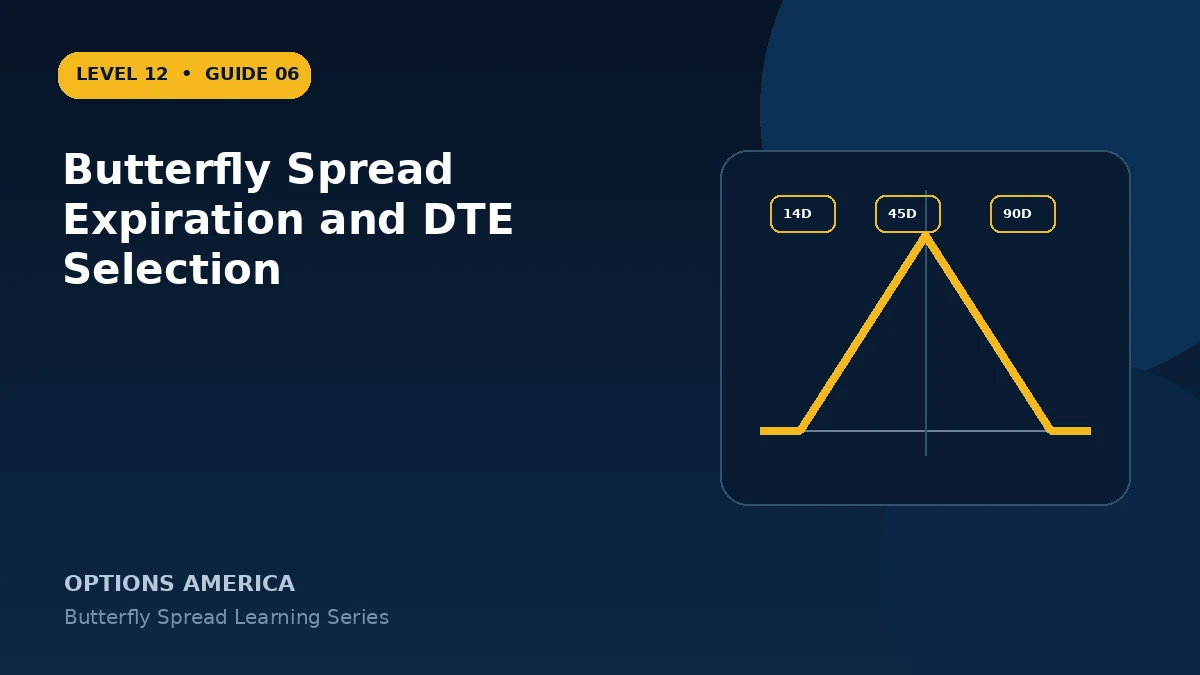
Butterfly Spread Expiration and DTE Selection
Choose butterfly expiration using the target's timing, theta, gamma, vega, event risk and time available for management.
Read the guide →
Call Butterfly vs Put Butterfly
Compare call and put butterflies with the same strikes through expiration payoff, debit, liquidity, assignment and capital treatment.
Read the guide →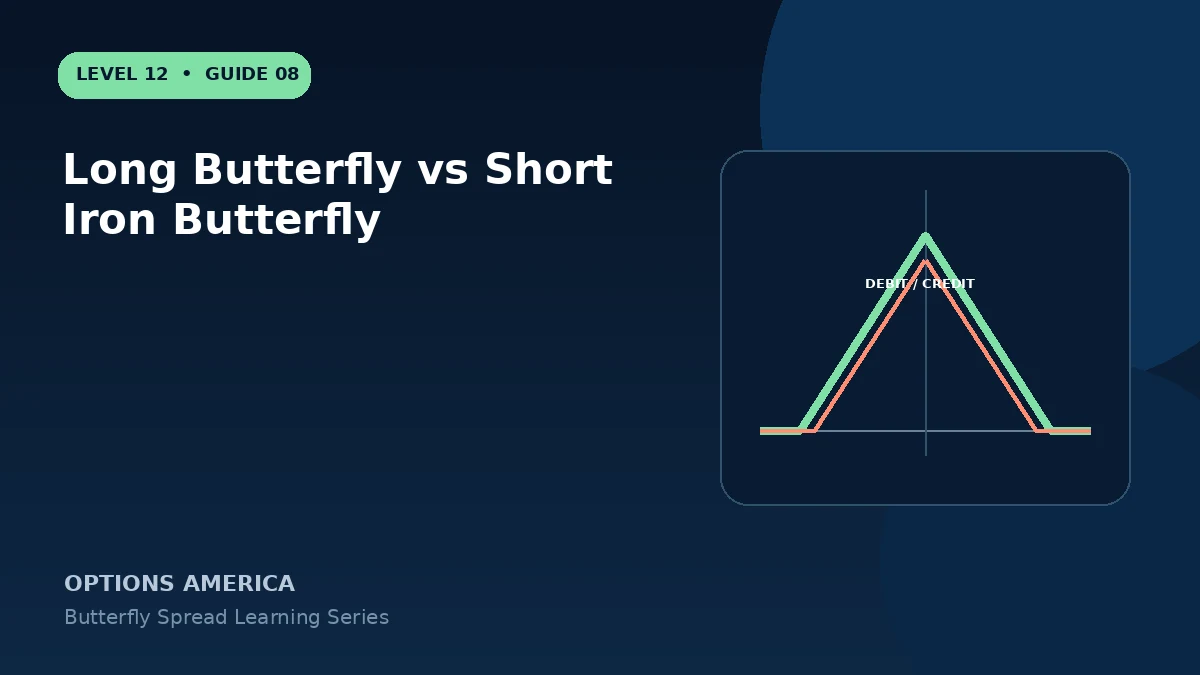
Long Butterfly vs Short Iron Butterfly
Compare a long debit butterfly with a short iron butterfly across construction, profit zone, volatility exposure and risk profile.
Read the guide →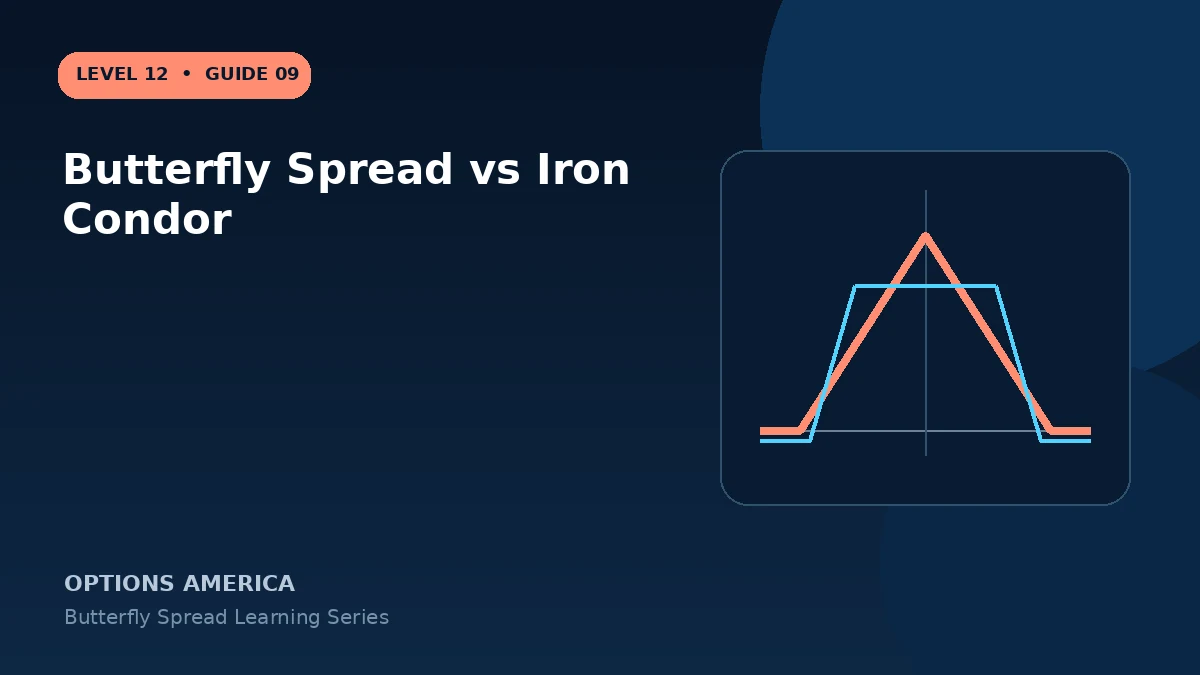
Butterfly Spread vs Iron Condor
Compare a target-centered butterfly with a range-based iron condor across credit, profit zone, Greeks and forecast precision.
Read the guide →
Broken Wing Butterfly Explained
Learn how unequal butterfly wings reshape debit, credit, breakevens, directional bias and maximum loss.
Read the guide →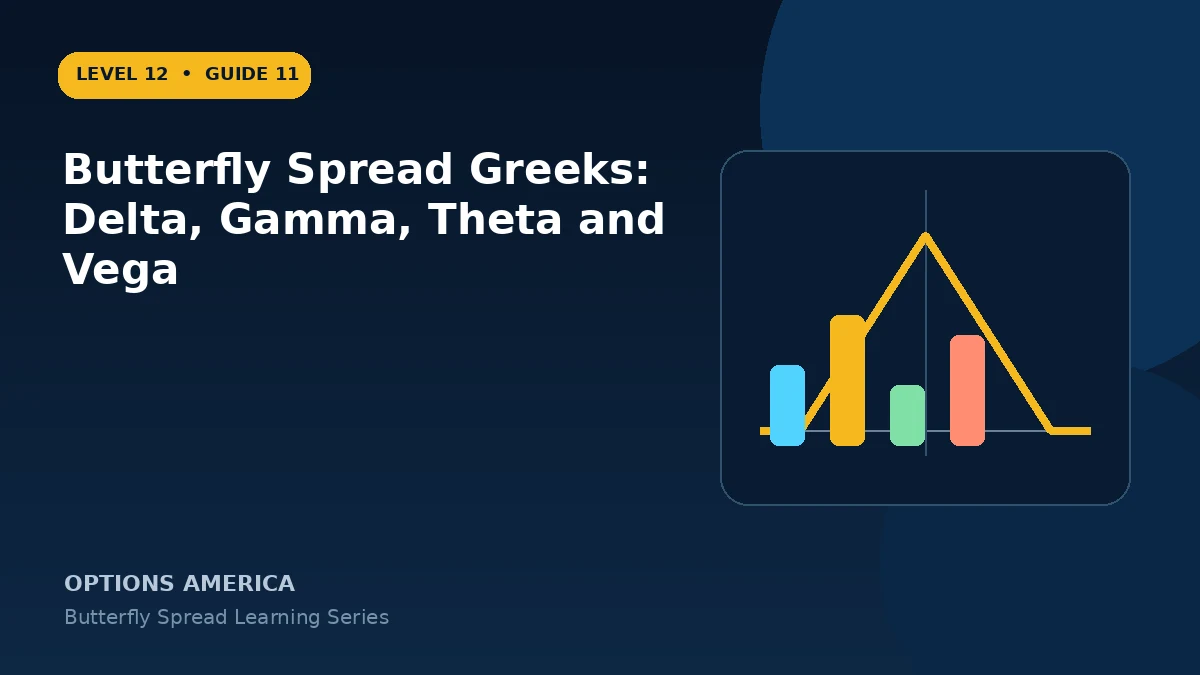
Butterfly Spread Greeks: Delta, Gamma, Theta and Vega
Understand how the long wings and two short body options combine into butterfly delta, gamma, theta and vega.
Read the guide →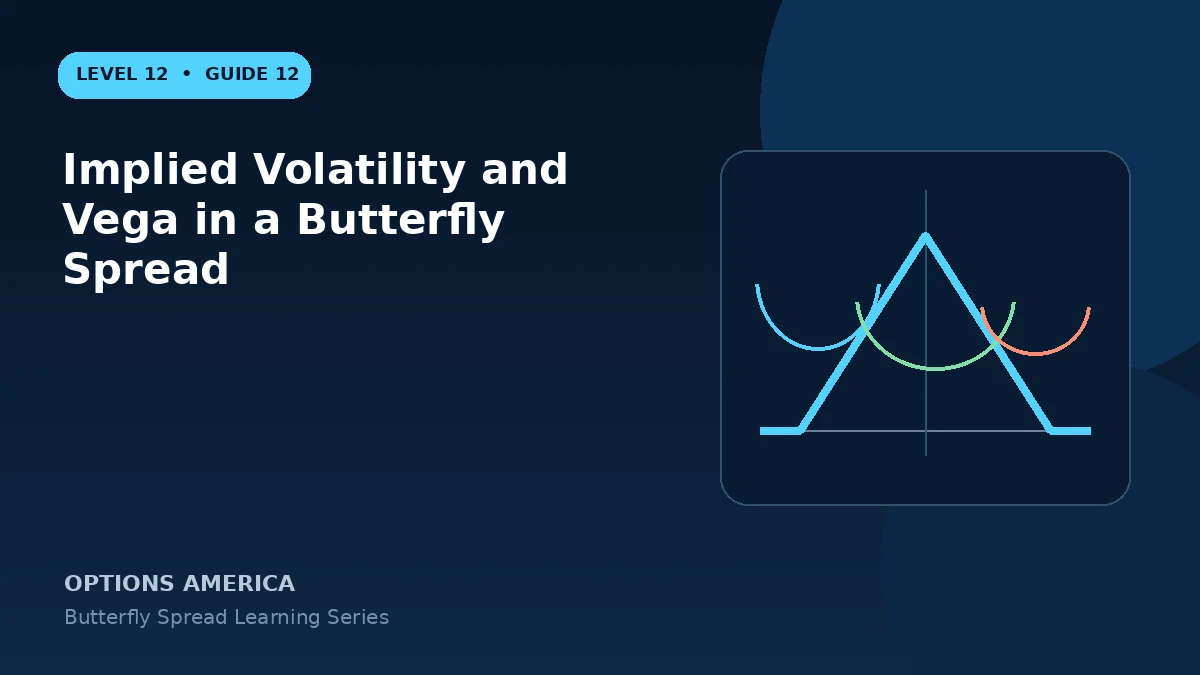
Implied Volatility and Vega in a Butterfly Spread
Learn how IV level, volatility crush, skew and surface changes can affect butterfly pricing and target selection.
Read the guide →
Theta and Time Decay in a Butterfly Spread
See when passing time helps or hurts a butterfly and why theta changes sign around the central target region.
Read the guide →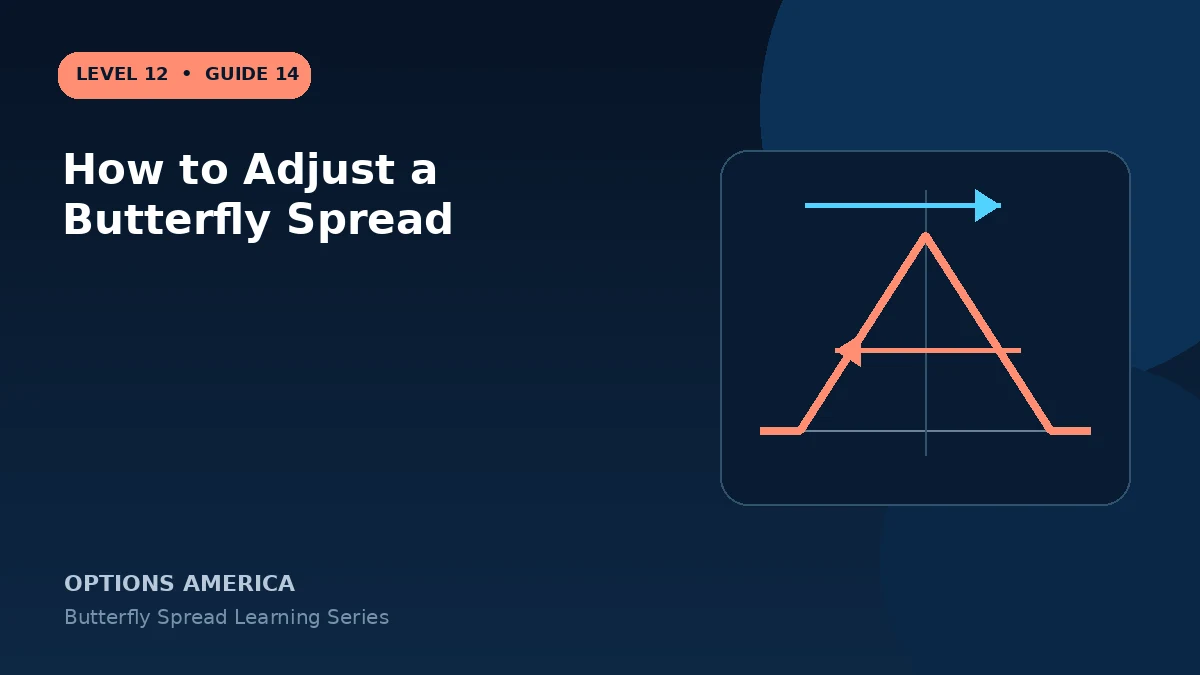
How to Adjust a Butterfly Spread
Evaluate rolling the body, widening a wing, adding another butterfly or closing when the target or timing changes.
Read the guide →
When to Close a Butterfly Spread
Plan price, profit, loss, time and event exits for a butterfly instead of depending on a perfect expiration pin.
Read the guide →
Butterfly Spread: 12 Mistakes to Avoid
Avoid common butterfly errors involving target selection, wing width, debit, liquidity, Greeks, adjustments and expiration.
Read the guide →
Calendar Spread Explained: Strategy, Risk and Reward
Learn how a calendar spread sells a near-term option and buys a longer-dated option at the same strike.
Read the guide →
How to Build a Calendar Spread
Build a calendar spread by choosing a target strike, selling the front expiration and buying the back expiration as one order.
Read the guide →
Calendar Spread Profit, Loss and Breakeven
Understand why calendar spread maximum profit and breakevens are estimates rather than fixed expiration formulas.
Read the guide →
Calendar Spread Example With Price and Volatility Scenarios
Walk through a call calendar under target, downside, upside and implied-volatility scenarios before the front option expires.
Read the guide →
How to Choose a Calendar Spread Strike
Choose an ATM, OTM or ITM calendar strike using the target price, delta, event range, liquidity and directional bias.
Read the guide →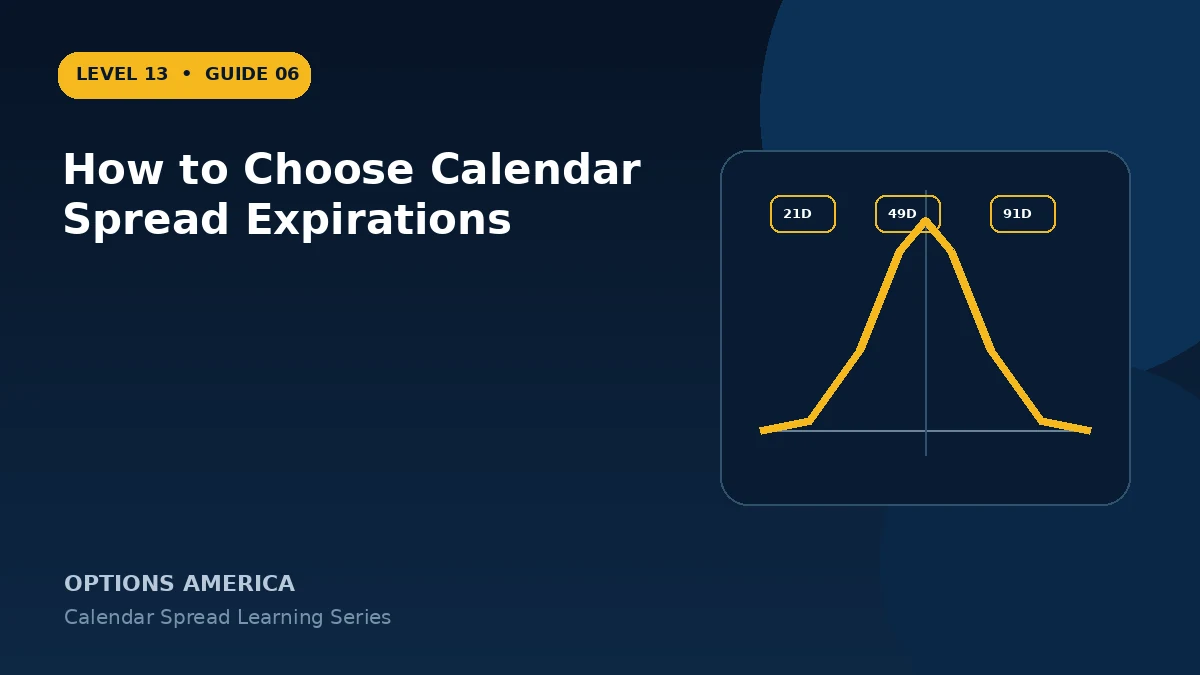
How to Choose Calendar Spread Expirations
Select front and back expirations by comparing decay, vega, event timing, liquidity and the spacing between maturities.
Read the guide →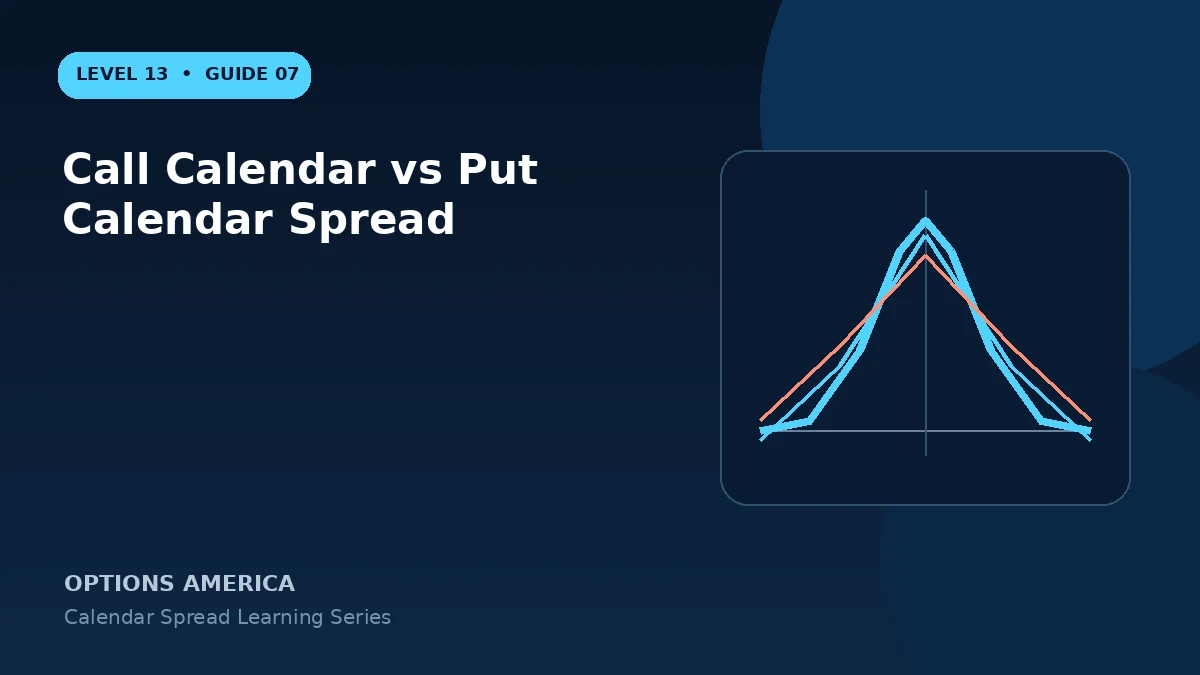
Call Calendar vs Put Calendar Spread
Compare call and put calendars with the same strike and expirations through pricing, delta, assignment, dividends and liquidity.
Read the guide →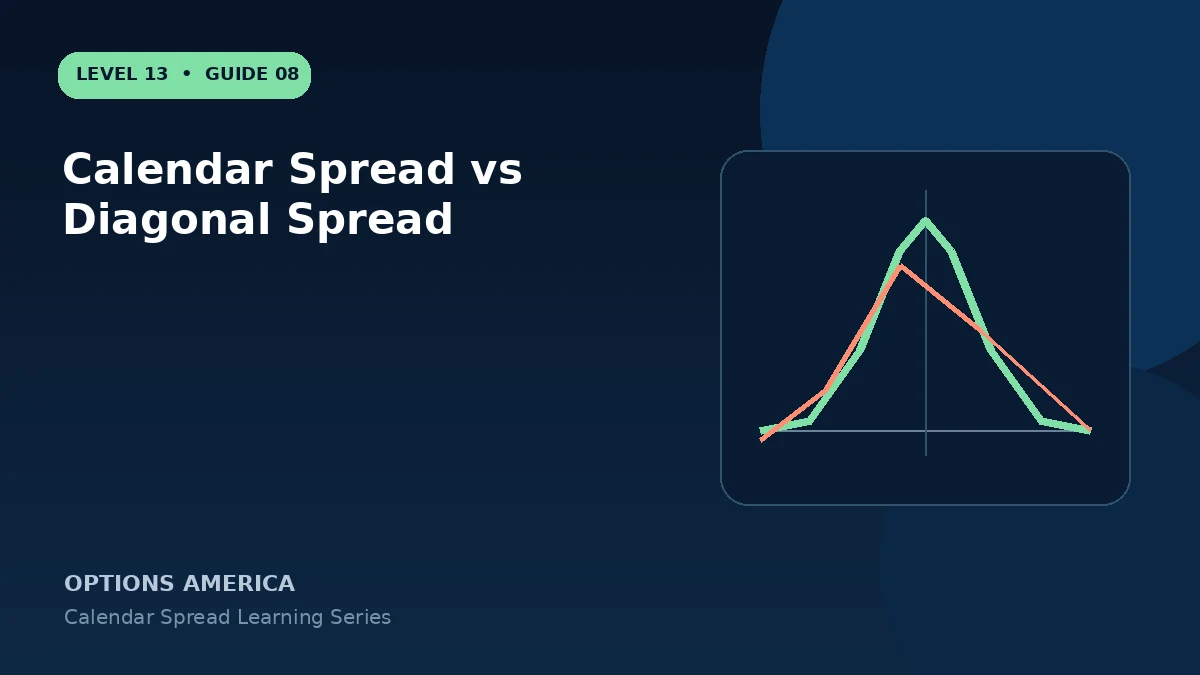
Calendar Spread vs Diagonal Spread
Compare same-strike calendars with different-strike diagonals across directional bias, credit or debit, Greeks and management.
Read the guide →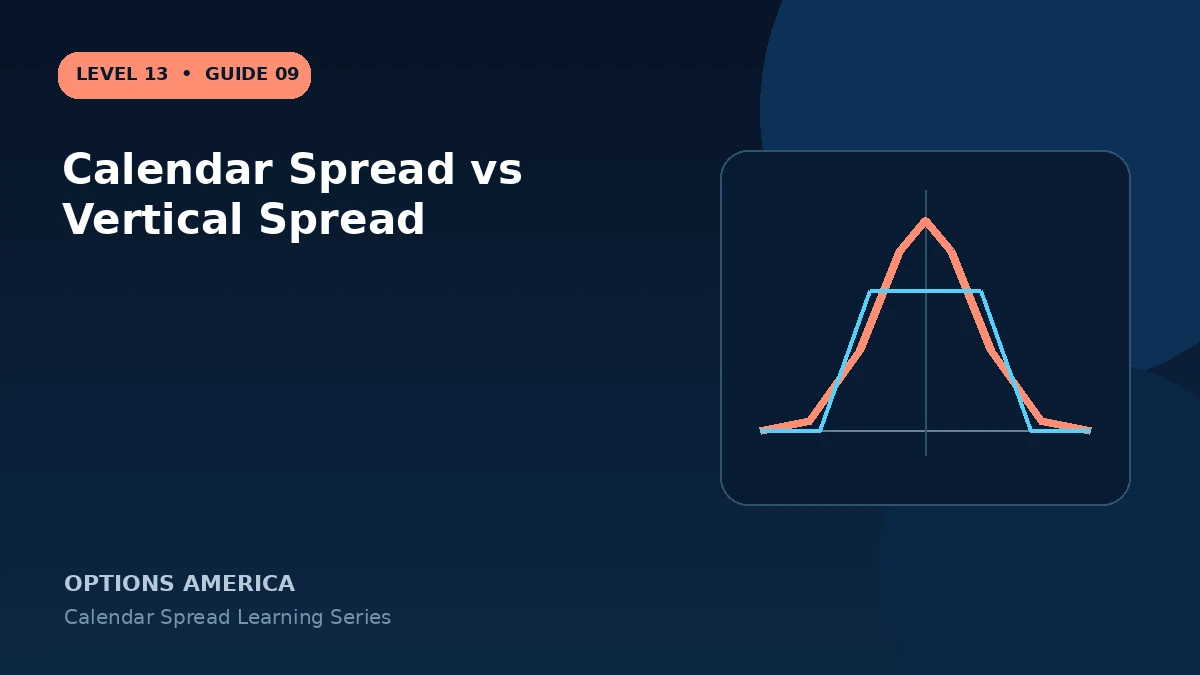
Calendar Spread vs Vertical Spread
Compare time spreads and same-expiration vertical spreads through strike selection, payoff certainty, Greeks and breakevens.
Read the guide →
Double Calendar Spread Explained
Learn how a double calendar uses two target strikes and two expirations to create a wider time-spread structure.
Read the guide →
Calendar Spread Greeks: Delta, Gamma, Theta and Vega
Understand how near- and back-month options combine into calendar delta, gamma, theta and vega.
Read the guide →
Theta and Time Decay in a Calendar Spread
Learn how differential time decay creates calendar theta and when passing time helps or hurts the position.
Read the guide →
Implied Volatility and Vega in Calendar Spreads
Understand volatility term structure, front-versus-back IV, event premium and the calendar's typically positive vega exposure.
Read the guide →
How to Adjust a Calendar Spread
Evaluate rolling the short option, moving the strike, changing duration or converting a calendar into another structure.
Read the guide →
When to Close a Calendar Spread
Plan profit, target, volatility, time and assignment exits for a calendar before the front option approaches expiration.
Read the guide →
Calendar Spread: 12 Mistakes to Avoid
Avoid calendar spread errors involving expiration selection, IV term structure, target timing, assignment, execution and management.
Read the guide →
Backspread Options Strategy Explained
Learn how a ratio backspread uses more long options than short options to create asymmetric exposure to a large market move.
Read the guide →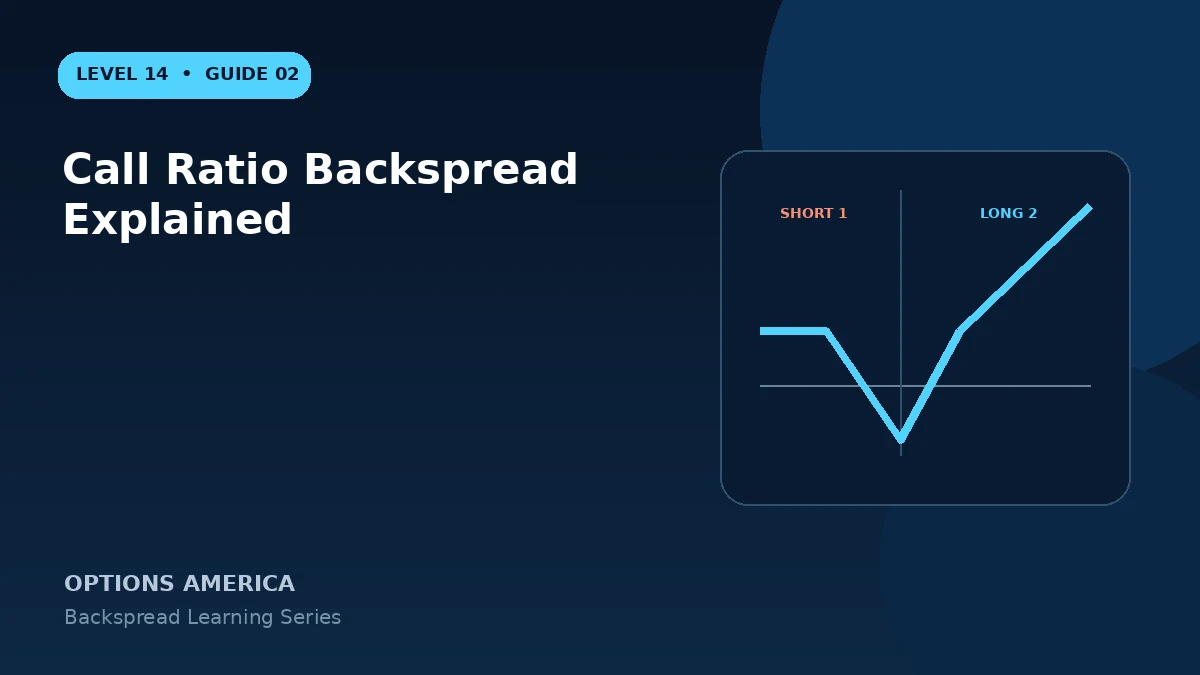
Call Ratio Backspread Explained
Understand the 1-by-2 call backspread, its upside potential, downside result, maximum-loss area and two breakevens.
Read the guide →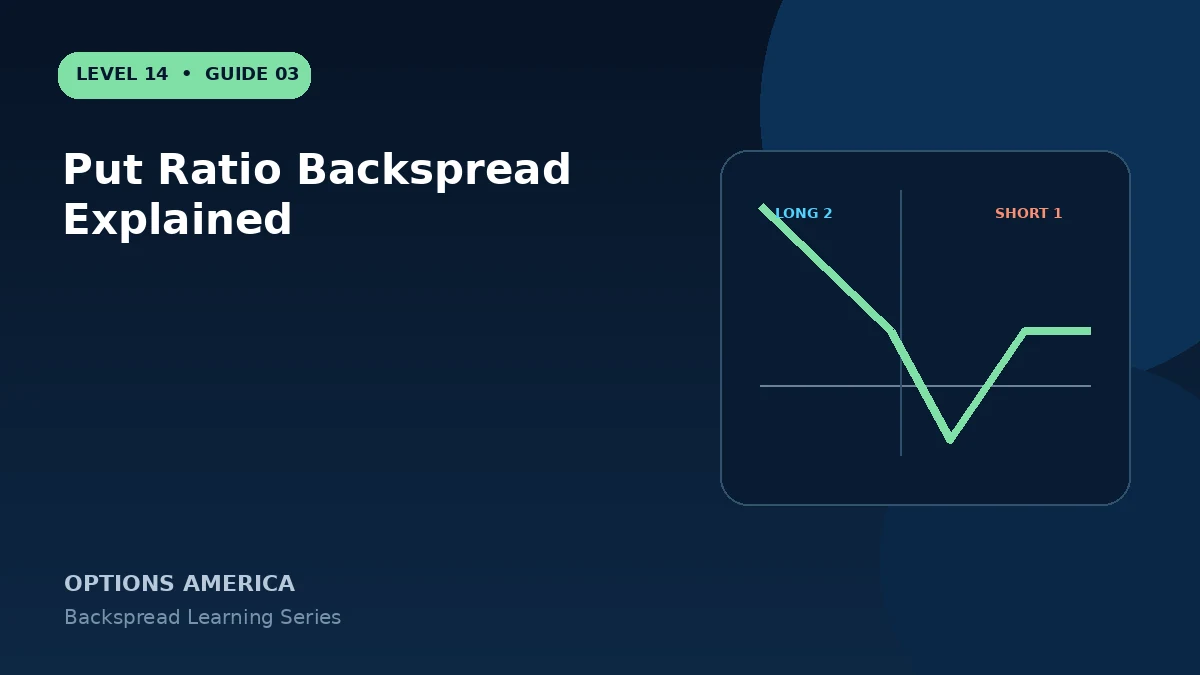
Put Ratio Backspread Explained
Learn how selling one higher-strike put and buying more lower-strike puts creates convex downside exposure.
Read the guide →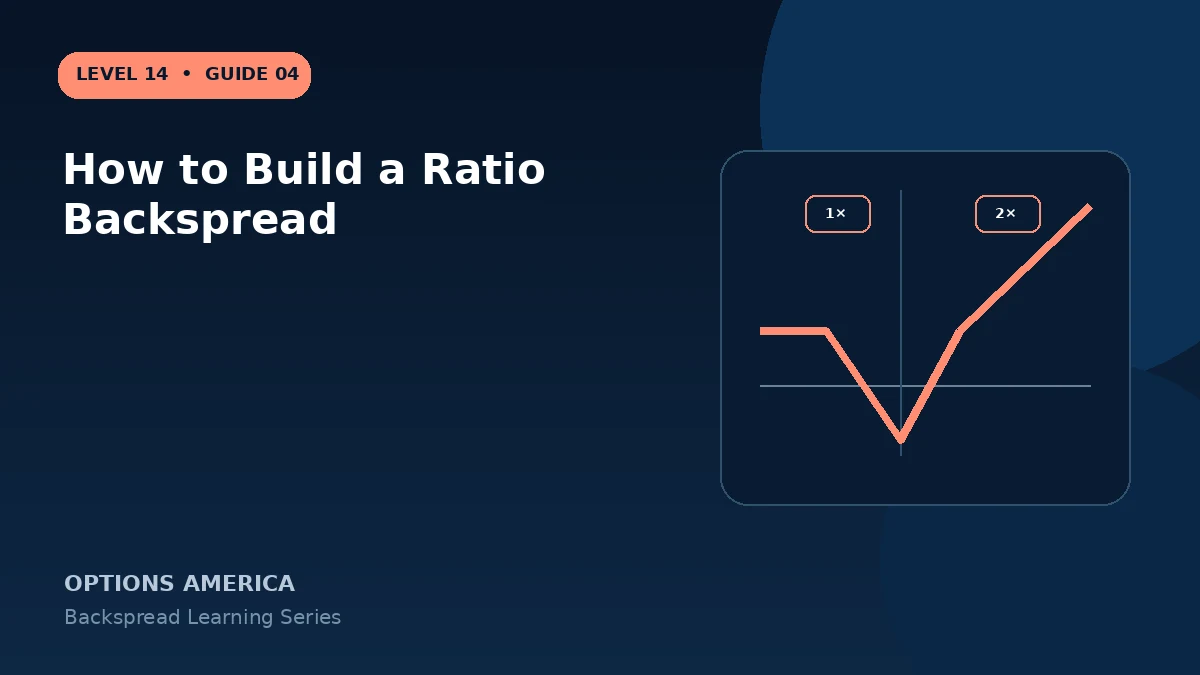
How to Build a Ratio Backspread
Build a call or put backspread by defining the extreme-move thesis, selecting strikes, choosing the ratio and controlling the net price.
Read the guide →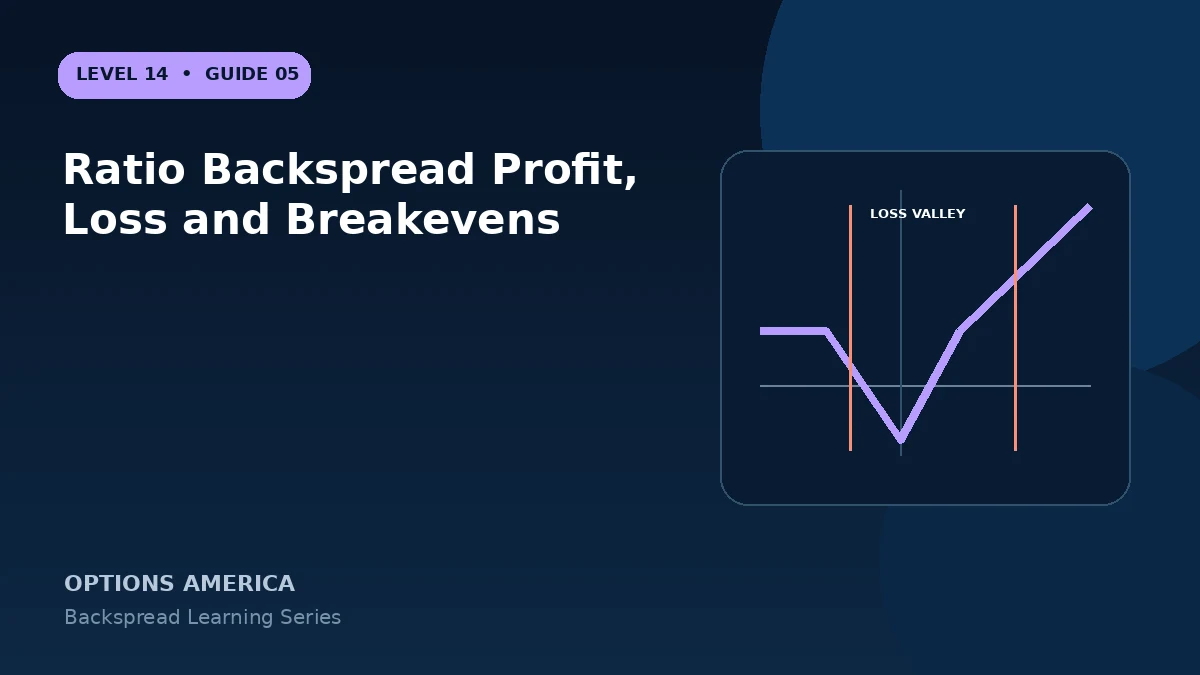
Ratio Backspread Profit, Loss and Breakevens
Calculate the expiration credit or debit result, maximum-loss zone and far-move breakeven of a 1-by-2 backspread.
Read the guide →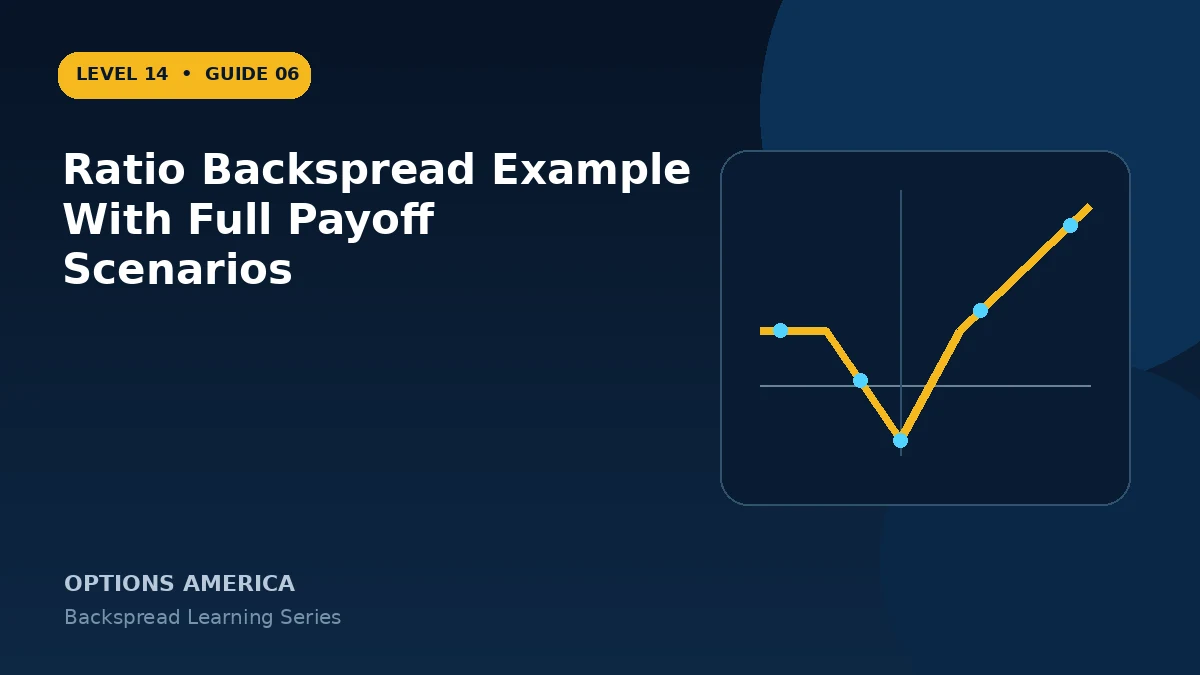
Ratio Backspread Example With Full Payoff Scenarios
Walk through a 1-by-2 call backspread at expiration across prices below, between and far above its strikes.
Read the guide →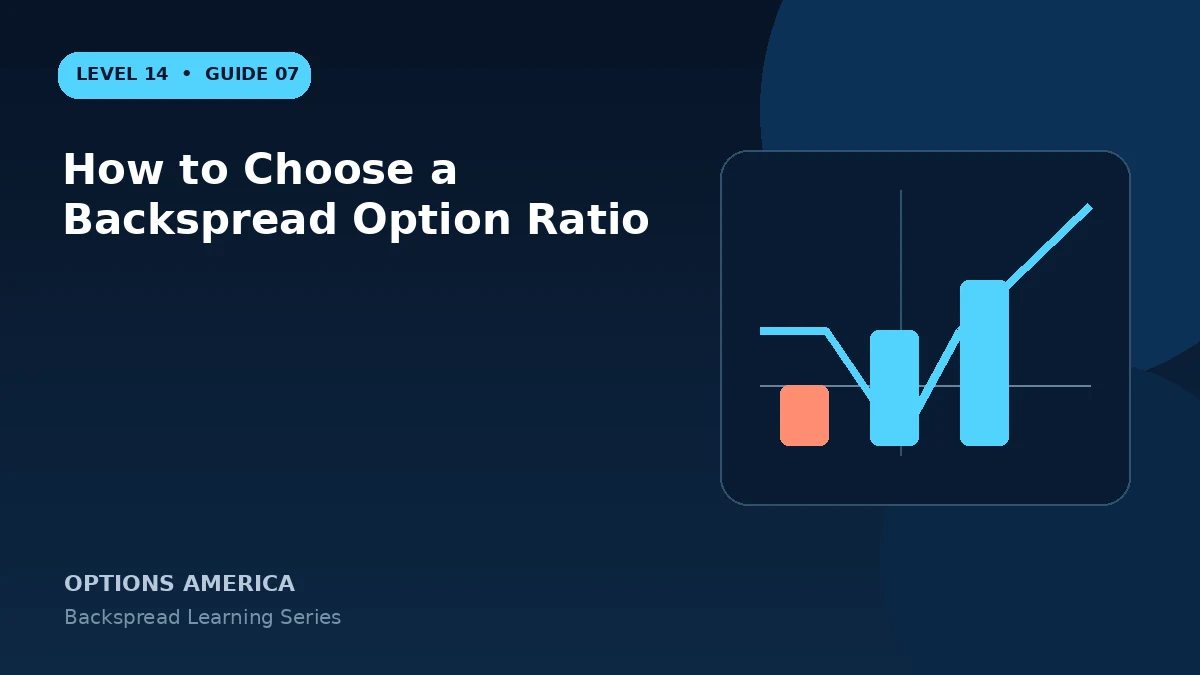
How to Choose a Backspread Option Ratio
Compare 1-by-2, 1-by-3 and other backspread ratios through debit, gamma, vega, delta and maximum loss.
Read the guide →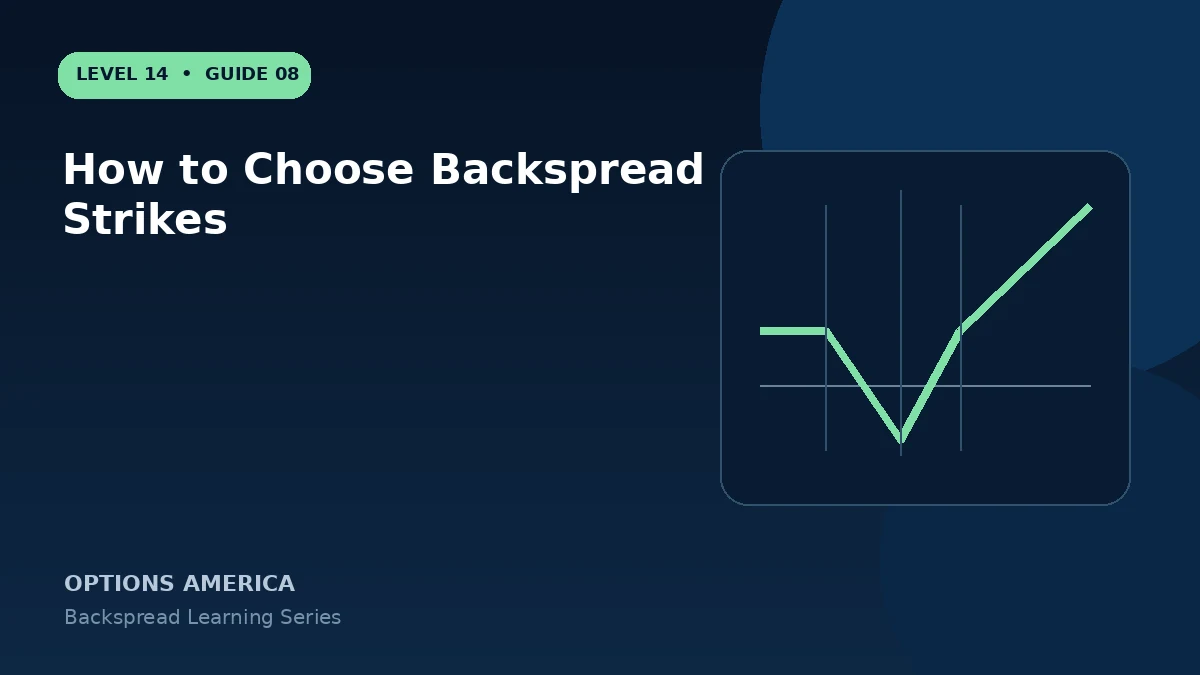
How to Choose Backspread Strikes
Choose short and long backspread strikes using the catalyst target, expected move, option skew, credit and maximum-loss zone.
Read the guide →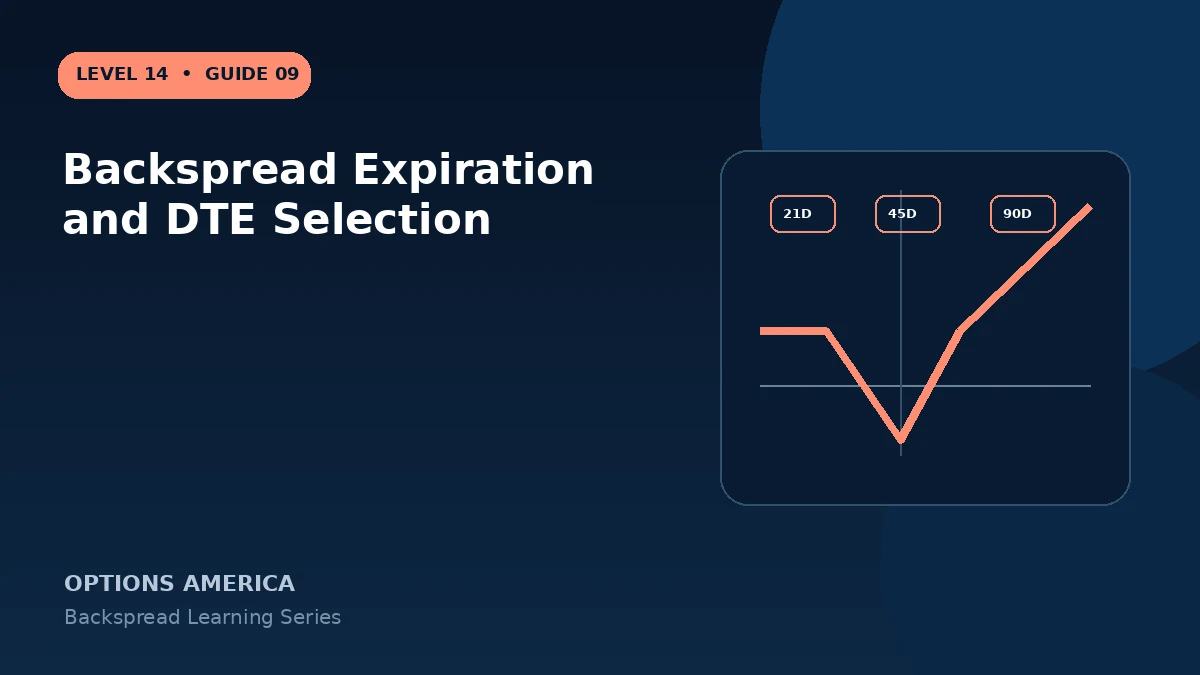
Backspread Expiration and DTE Selection
Choose backspread expiration using catalyst timing, gamma, vega, theta, liquidity and the time required for an extreme move.
Read the guide →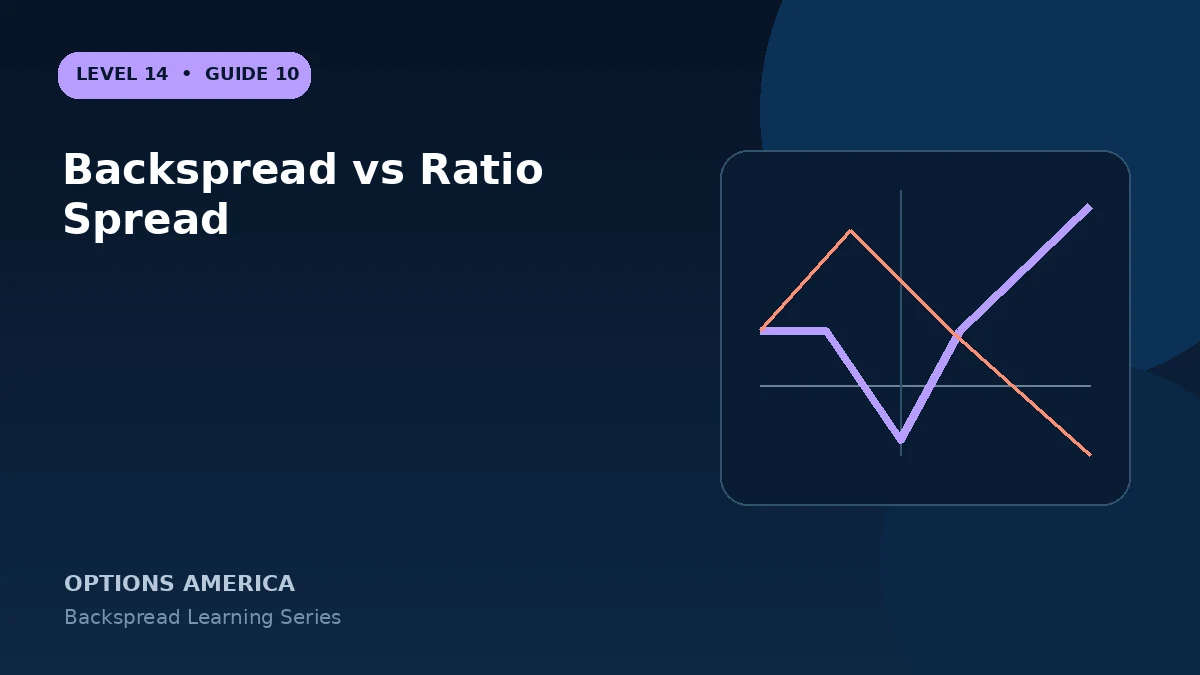
Backspread vs Ratio Spread
Understand why a backspread owns more options than it sells while a front ratio spread usually sells more than it owns.
Read the guide →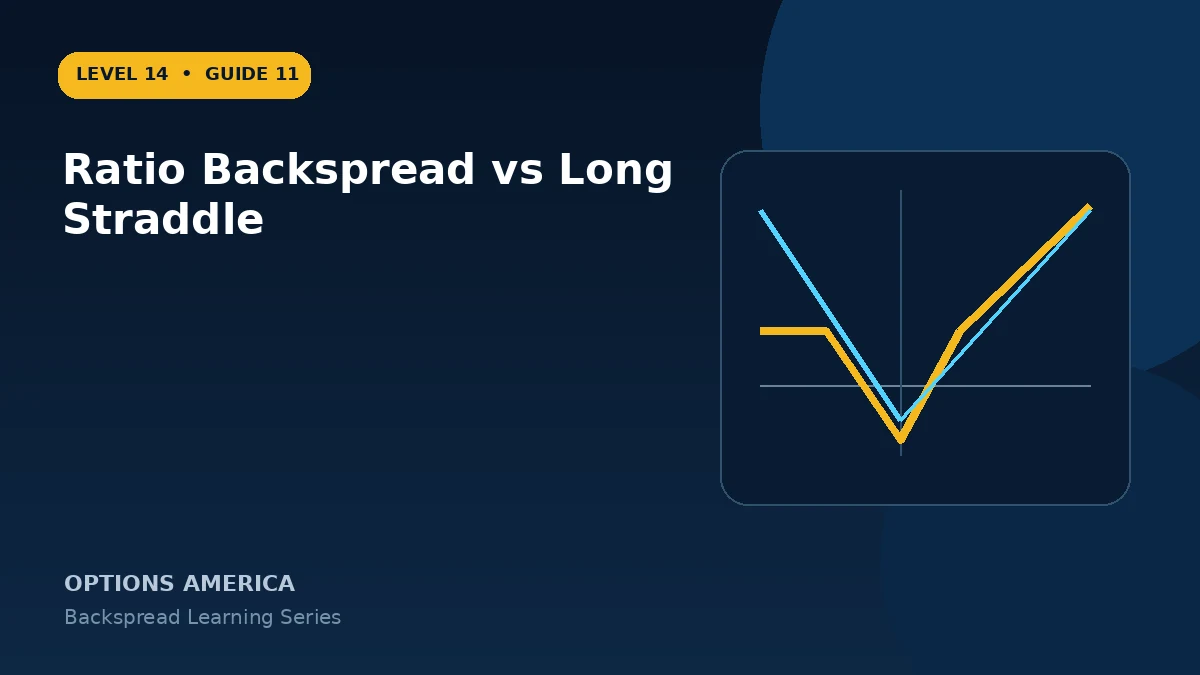
Ratio Backspread vs Long Straddle
Compare an asymmetric directional backspread with a two-sided long straddle across cost, volatility, movement and loss zones.
Read the guide →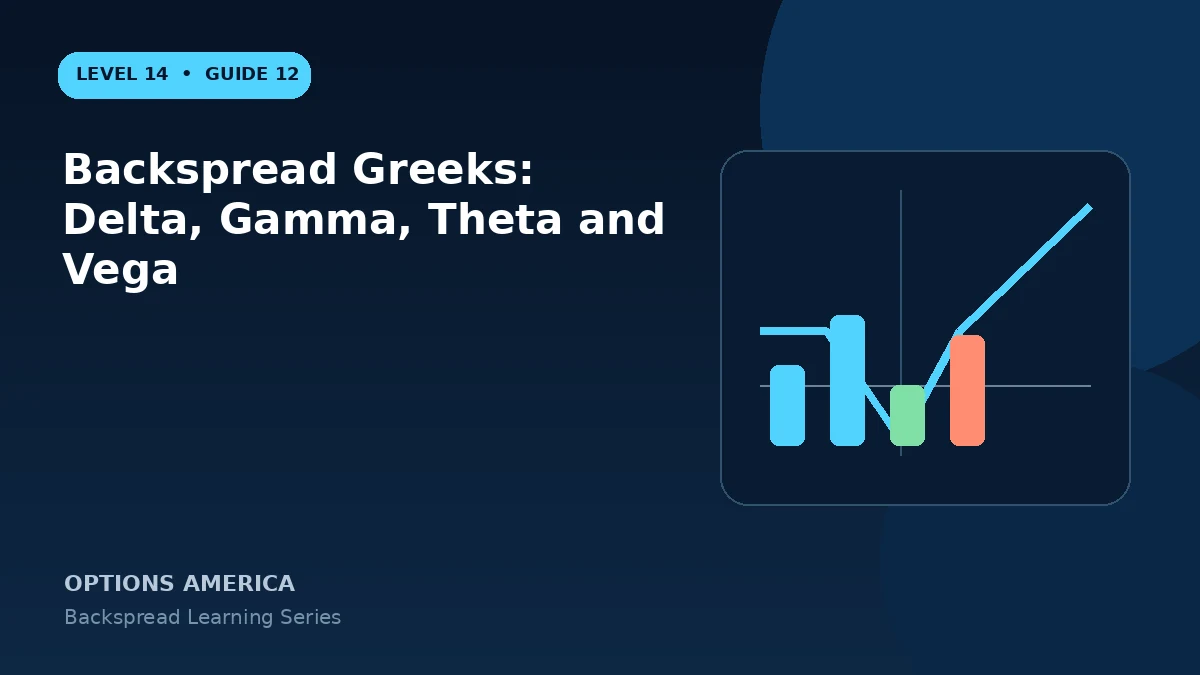
Backspread Greeks: Delta, Gamma, Theta and Vega
Understand how one short option and multiple long options combine into the changing Greeks of a ratio backspread.
Read the guide →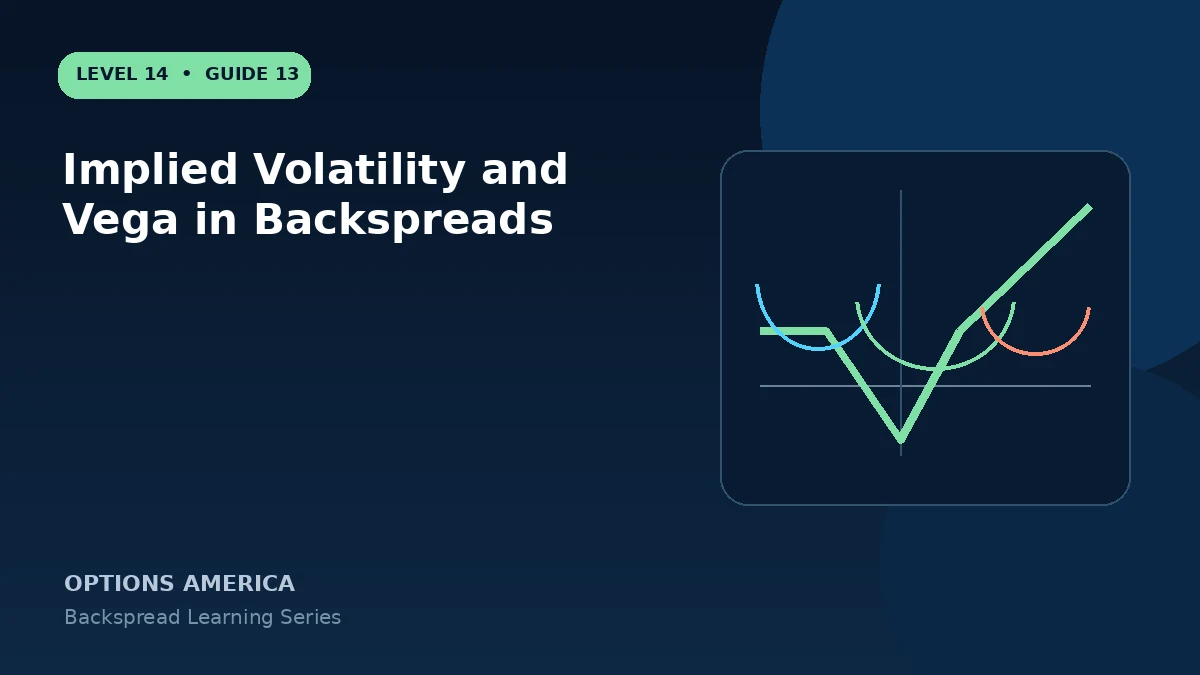
Implied Volatility and Vega in Backspreads
Learn how volatility expansion, crush and strike skew affect the short option and multiple long options in a backspread.
Read the guide →
Theta and Time Decay in a Backspread
Understand why a ratio backspread can have negative theta even when it opens for a credit and how decay changes by price.
Read the guide →
How to Adjust and Close a Ratio Backspread
Plan exits for quiet, moderate and extreme moves and evaluate rolling strikes, expiration or ratio without creating naked risk.
Read the guide →
Backspread Options Strategy: 12 Mistakes to Avoid
Avoid backspread errors involving ratio direction, maximum-loss zones, credit, strikes, volatility, assignment and partial fills.
Read the guide →
Short Straddle Options Strategy Explained
Learn how a short straddle sells an at-the-money call and put to collect premium while accepting substantial two-sided risk.
Read the guide →
How a Short Straddle Works
Understand the mechanics of selling a call and put at one strike, including premium, assignment and changing directional exposure.
Read the guide →
Short Straddle Profit, Loss and Breakevens
Calculate maximum profit, upper and lower breakevens and scenario losses for a short straddle at expiration.
Read the guide →
Short Straddle Example With Payoff Scenarios
Follow a complete short straddle example across no move, moderate moves, breakevens and a large gap.
Read the guide →
Short Straddle vs Long Straddle
Compare short and long straddles across premium, volatility, theta, movement requirements and tail risk.
Read the guide →
Short Straddle vs Short Strangle
Compare two neutral premium-selling strategies across strikes, credit, probability range, Greeks and tail risk.
Read the guide →
Short Straddle vs Iron Butterfly
Compare the uncovered short straddle with a defined-risk iron butterfly across wings, credit, buying power and outcomes.
Read the guide →
Best Market Conditions for a Short Straddle
Evaluate implied versus realized volatility, catalysts, liquidity and price stability before considering a short straddle.
Read the guide →
Implied Volatility and the Short Straddle
Understand negative vega, volatility crush, term structure and why high implied volatility can still become higher.
Read the guide →
Short Straddle Greeks: Delta, Gamma, Theta and Vega
Learn how delta, negative gamma, positive theta and negative vega interact in a short straddle.
Read the guide →
Theta and Time Decay in a Short Straddle
Learn when time decay helps a short straddle and why gamma risk intensifies as expiration approaches.
Read the guide →
Short Straddle Expiration and DTE Selection
Choose expiration using theta, gamma, event timing, liquidity and the holding period of a short straddle.
Read the guide →
Short Straddle Margin and Buying Power
Understand why undefined-risk margin can expand and how to stress buying power before selling a short straddle.
Read the guide →
How to Adjust a Short Straddle
Evaluate rolling the untested or tested side, moving the center, adding wings or closing a challenged short straddle.
Read the guide →
When to Close or Roll a Short Straddle
Create objective profit, loss, volatility and time-based exit rules for a short straddle.
Read the guide →
Short Straddle Options Strategy: 12 Mistakes to Avoid
Avoid errors involving unlimited risk, IV, earnings, sizing, margin, adjustments, assignment and expiration.
Read the guide →
Short Strangle Options Strategy Explained
Learn how selling an OTM call and put creates a wide premium-selling range with substantial uncovered tail risk.
Read the guide →
How a Short Strangle Works
Understand how two OTM short options collect premium, change delta and create assignment and margin obligations.
Read the guide →
Short Strangle Profit, Loss and Breakevens
Calculate credit, maximum profit, two breakevens and losses outside a short strangle's expiration range.
Read the guide →
Short Strangle Example With Payoff Scenarios
Follow a short strangle through prices inside the strikes, at breakeven and beyond the expected range.
Read the guide →
How to Choose Short Strangle Strikes
Choose call and put strikes using expected move, delta, skew, liquidity, credit and portfolio stress tests.
Read the guide →
Short Strangle vs Iron Condor
Compare an uncovered short strangle with a wing-protected iron condor across credit, loss, margin and flexibility.
Read the guide →
Short Strangle vs Covered Strangle
Compare an uncovered short strangle with a covered strangle that combines shares, a short call and a short put.
Read the guide →
Best Market Conditions for a Short Strangle
Assess implied versus realized volatility, catalysts, liquidity, trend and portfolio exposure before selling a strangle.
Read the guide →
Implied Volatility and the Short Strangle
Understand negative vega, skew, volatility expansion and event crush across two OTM short options.
Read the guide →
Short Strangle Greeks: Delta, Gamma, Theta and Vega
Learn how delta, negative gamma, positive theta and negative vega change as price approaches either short strike.
Read the guide →
Theta and Time Decay in a Short Strangle
Understand how OTM time value decays and why the tested side can overwhelm positive theta near expiration.
Read the guide →
Short Strangle Expiration and DTE Selection
Choose DTE using theta, gamma, vega, event timing, strike distance and the planned management window.
Read the guide →
Short Strangle Margin and Buying Power
Plan for changing margin, volatility stress and correlated portfolio exposure before opening an undefined-risk strangle.
Read the guide →
How to Adjust a Short Strangle
Compare rolling the untested side, moving a tested strike, extending time, adding wings and closing the trade.
Read the guide →
When to Close or Roll a Short Strangle
Set profit, loss, time, volatility and tested-strike rules for closing or rolling a short strangle.
Read the guide →
Short Strangle Options Strategy: 12 Mistakes to Avoid
Avoid strike, volatility, sizing, margin, correlation, adjustment, assignment and expiration mistakes.
Read the guide →
Protective Put Strategy Explained
Learn how stock plus a long put creates a downside floor while preserving upside participation.
Read the guide →
How a Protective Put Works
Understand the two-leg structure, exercise right, expiration outcomes and changing option value.
Read the guide →
Protective Put Profit, Loss and Breakeven
Calculate the downside floor, maximum loss and adjusted breakeven for a married-put position.
Read the guide →
Protective Put Example With Expiration Scenarios
Follow one hedged stock position through a rally, a flat market, a moderate decline and a crash.
Read the guide →
How to Choose a Protective Put Strike
Compare deductible, premium, delta and protection level when selecting a hedge strike.
Read the guide →
How to Choose Protective Put Expiration
Match hedge duration to the risk window while balancing theta, event exposure and renewal cost.
Read the guide →
How Much Does Protective Put Insurance Cost?
Measure put premium, opportunity cost, volatility pricing and the drag created by repeated hedging.
Read the guide →
Protective Put Greeks: Delta, Gamma, Theta and Vega
See how long stock and a long put combine into a changing risk profile.
Read the guide →
Protective Put vs Stop-Loss Order
Compare contractual downside protection with a conditional sell order across gaps, cost and execution.
Read the guide →
Protective Put vs Collar Strategy
Compare uncapped stock upside with a lower-cost hedge funded by selling a call.
Read the guide →
How to Roll a Protective Put
Plan when to extend time, move the strike or close an appreciated downside hedge.
Read the guide →
Protective Put Strategy: 10 Mistakes to Avoid
Avoid errors involving strike, duration, volatility, sizing, exercise and false expectations.
Read the guide →
Options Portfolio Optimization Guide
Build a portfolio process around objectives, aggregate Greeks, scenario risk and capital reserves.
Read the guide →
How to Analyze an Options Portfolio
Review positions as one system using exposure, scenario P&L, liquidity and event concentration.
Read the guide →
Portfolio Delta and Beta Weighting Guide
Translate positions into a common benchmark estimate and understand the limits of beta-weighted delta.
Read the guide →
How to Manage Portfolio Theta
Balance desired time-decay exposure against gamma, event and tail risk.
Read the guide →
How to Manage Portfolio Vega
Measure volatility sensitivity across symbols, strikes and expirations without assuming parallel IV moves.
Read the guide →
Portfolio Gamma Risk Explained
Understand how portfolio delta can accelerate as prices move and expiration approaches.
Read the guide →
How to Stress-Test an Options Portfolio
Model price gaps, volatility shocks, time passage and correlation changes across the complete book.
Read the guide →
Options Position Sizing at Portfolio Level
Size trades from stressed loss, liquidity and total exposure instead of maximum profit.
Read the guide →
How to Diversify an Options Portfolio
Diversify by risk driver, underlying, duration and market thesis rather than ticker count alone.
Read the guide →
Portfolio Hedging With Options
Compare index puts, collars, spreads and dynamic hedges by objective, basis risk and cost.
Read the guide →
When to Rebalance an Options Portfolio
Use exposure bands, thesis changes and event rules to avoid both neglect and excessive trading.
Read the guide →
Options Portfolio Management: 12 Mistakes to Avoid
Avoid hidden leverage, correlation, Greek-sign, expiration and buying-power errors.
Read the guide →
What Is the VIX Index and How Does It Work?
Learn what the VIX measures, how option prices inform it and what the index does not predict.
Read the guide →
How Is the VIX Calculated?
Understand the strip of S&P 500 options, variance weighting and 30-day interpolation behind VIX.
Read the guide →
Why Is VIX Called the Fear Index?
Separate the popular nickname from the index's actual measurement of expected volatility.
Read the guide →
What Do Different VIX Levels Mean?
Interpret VIX in historical, event and term-structure context instead of using fixed magic thresholds.
Read the guide →
VIX Term Structure Explained
Read the relationship among VIX futures maturities and distinguish it from spot VIX.
Read the guide →
VIX Contango vs Backwardation
Understand upward- and downward-sloping volatility futures curves and their market implications.
Read the guide →
VIX Futures vs Spot VIX
Learn why a futures contract can differ substantially from the displayed VIX Index.
Read the guide →
VIX Options Basics: Calls, Puts and Settlement
Learn contract style, cash settlement, expiration and the relationship to forward VIX pricing.
Read the guide →
VIX Options Settlement and SOQ Explained
Understand the Special Opening Quotation and why expiration-day settlement can surprise traders.
Read the guide →
VIX vs Realized Volatility
Compare forward-looking option-implied volatility with movement that actually occurred.
Read the guide →
Does VIX Mean-Revert?
Use mean reversion carefully while respecting regime shifts, clustering and asymmetric spikes.
Read the guide →
VIX Trading: 10 Mistakes to Avoid
Avoid confusing spot and futures, ignoring settlement, leverage, roll yield and product structure.
Read the guide →
VIX Hedging Strategies Guide
Design volatility hedges around objectives, horizon, basis risk, carry and exit rules.
Read the guide →
How to Hedge a Portfolio With VIX Calls
Choose call strike, expiration and size while accounting for forward pricing and option premium.
Read the guide →
VIX Call Spread for Portfolio Hedging
Reduce premium by capping the payoff and define where a call-spread hedge stops helping.
Read the guide →
VIX Put Strategies for Falling Volatility
Analyze long puts, put spreads and the challenge of timing volatility normalization.
Read the guide →
VIX Calendar Spread Strategy
Trade relative movement between volatility expirations while managing nonparallel term-structure shifts.
Read the guide →
VIX Ratio Spread Strategy
Compare front ratios and backspreads by tail exposure, premium and settlement risk.
Read the guide →
VIX Iron Condor and Butterfly Strategies
Use defined-risk range structures only after understanding VIX settlement and futures-based pricing.
Read the guide →
How to Size a VIX Portfolio Hedge
Translate a target equity loss into scenario-based contract quantities and a premium budget.
Read the guide →
VIX Hedge Cost, Carry and Roll Yield
Measure repeated premium expense, futures curve effects and the cost of maintaining crisis protection.
Read the guide →
When to Close or Roll a VIX Hedge
Use portfolio recovery, volatility targets, remaining convexity and time rules to manage exits.
Read the guide →
VIX ETF and ETN Risks Explained
Understand futures exposure, daily resets, roll effects, leverage and issuer structure in volatility products.
Read the guide →
VIX Hedging and Speculation: 12 Mistakes to Avoid
Avoid timing, product, settlement, sizing, carry and exit errors in volatility positions.
Read the guide →No guides found
Try a different topic, strategy or options term.
Continue with our complete, free courses on calls, puts and the option Greeks.