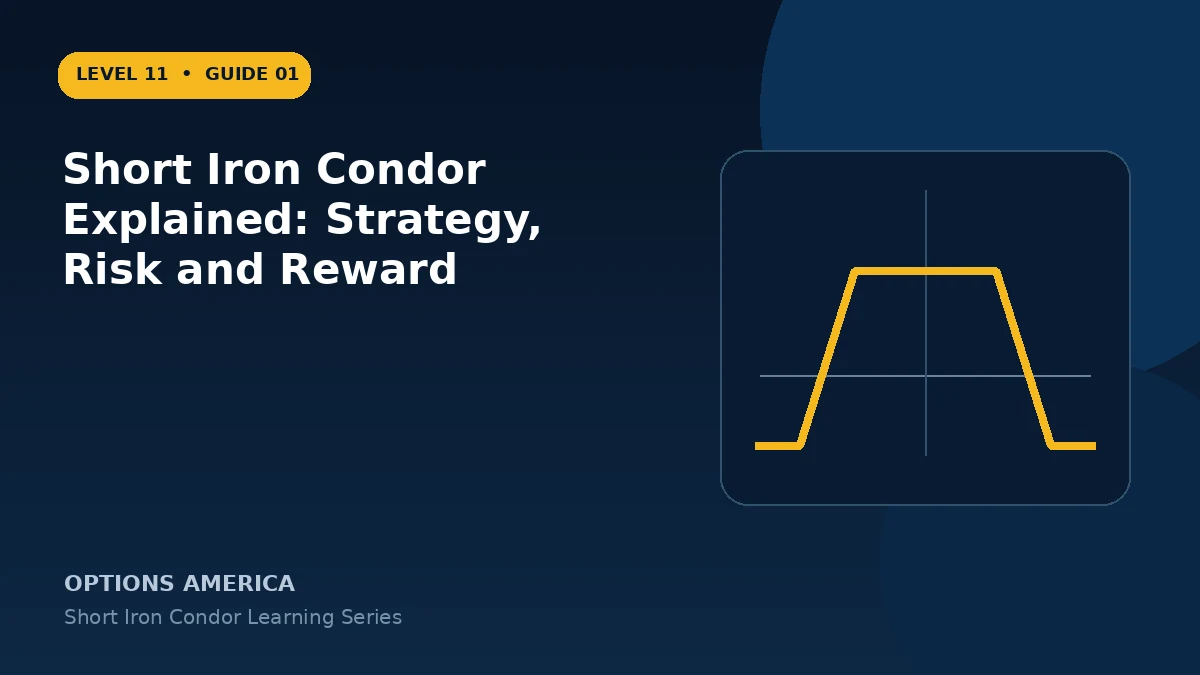
Learn how a short iron condor combines two credit spreads to create a defined-risk options position for a range-bound market.
The four-leg structure
Sell an OTM put and buy a farther OTM put, then sell an OTM call and buy a farther OTM call with the same expiration. The long wings define risk on both sides while the short options establish the intended range.
Market outlook
The strategy fits a neutral outlook in which realized movement is expected to remain inside a selected range. It is commonly evaluated when option premiums appear rich, but elevated IV can also warn that a large move is plausible.
Defined payoff
Maximum profit is the opening credit. Maximum loss is generally the wider wing width minus the credit, multiplied by the contract multiplier. There are two expiration breakevens around the profitable range.
Risk before expiration
Delta, gamma, theta, vega, skew and time interact across four legs. Defined maximum loss does not prevent rapid mark-to-market losses, difficult fills, early assignment or expiration complications.
A practical example
Sell the 95/90 put spread and the 105/110 call spread for a total $1.60 credit. Maximum profit is $160 and maximum loss is $340 per standard condor before costs.
This simplified example focuses on one position and a limited set of price and volatility outcomes. Live option prices also reflect the underlying price, time decay, rates, dividends, liquidity and transaction costs. Greeks are theoretical estimates, not guarantees.
Frequently asked questions
Is a short iron condor neutral?
It is designed for a range-bound outlook, although live delta may not be exactly zero.
Is risk unlimited?
No. Long wings define risk when the position is constructed correctly.
Where is maximum profit?
Between the two short strikes at expiration.
Continue the Short Iron Condor cluster
Explore related guides: How to Build a Short Iron Condor · Short Iron Condor Expiration and DTE Selection · Theta and Time Decay in a Short Iron Condor. For a structured sequence, use the free Level 11 – Short Iron Condor course.
Next strategy: Continue with the Butterfly Spread guide and the free Level 12 course.
Continue learning: Read the Calendar Spread guide and take the free Level 13 course.
Options involve risk and are not suitable for every investor. This material is educational and is not investment, tax or legal advice. Greeks are theoretical estimates, and contract terms and broker requirements can vary.
Undefined-risk comparison: Read the Short Strangle guide and take the free Level 16 course.